Introduction
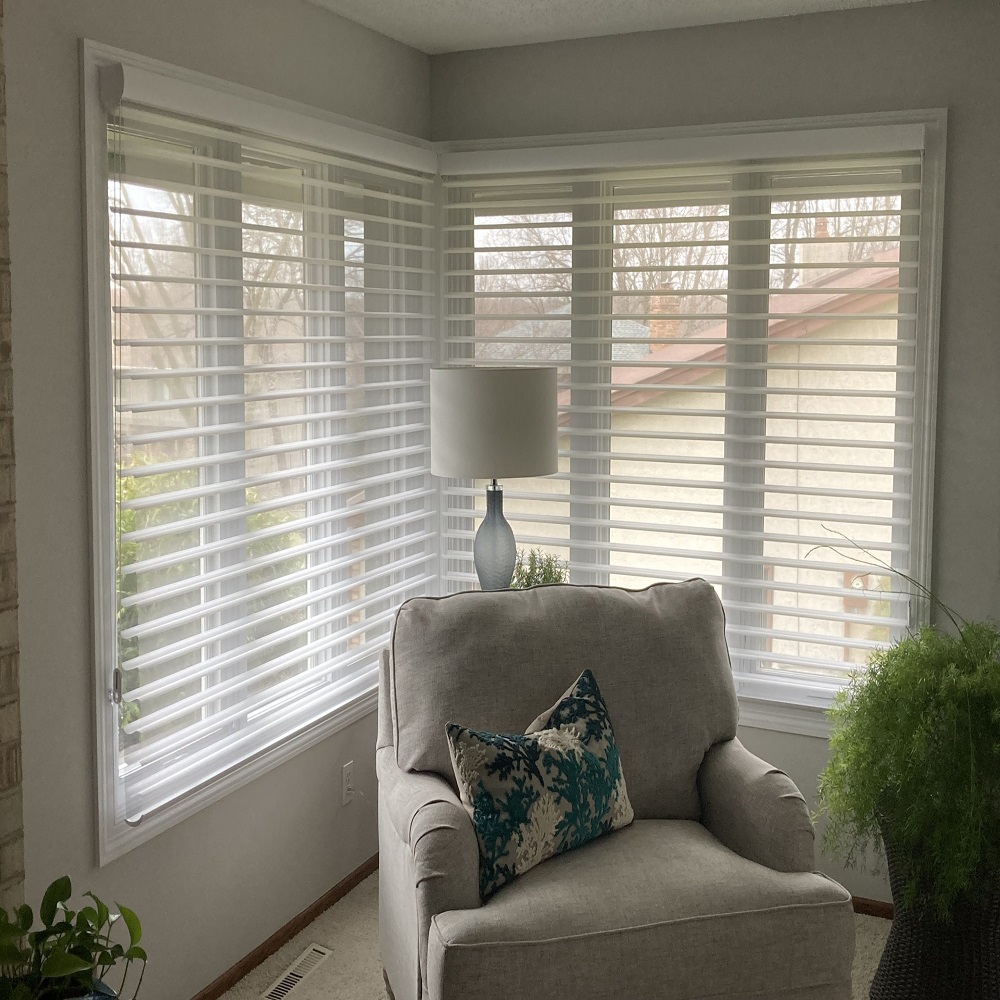
Installing window blinds is an excellent DIY project that not only enhances the privacy and light control in your home but also adds a touch of style to your interior decor. Whether you’ve opted for classic Venetian blinds, sleek roller shades, or elegant Roman blinds, the process of installation can seem daunting at first, but with the right tools and guidance, it’s a task well within reach. This comprehensive guide will walk you through each step, ensuring your blinds are installed perfectly and securely.
Before You Begin: Preparation and Tools
1. Measure Accurately: Accurate measurements are crucial. Measure the width of the window frame in three places—top, middle, and bottom—and use the narrowest measurement for inside mount blinds. For outside mount, measure the desired width including overlap (usually 2-3 inches on each side). For the height, measure from the top to the bottom or sill, depending on where you want the blind to end.
2. Select the Right Blinds: Choose blinds that fit your window dimensions and style preferences. Ensure you order the correct type (inside or outside mount) based on your measurements.
3. Gather Tools: You’ll need a drill, screwdriver, pencil, level, measuring tape, ladder, brackets, screws provided with the blinds, and possibly wall anchors if drilling into drywall.
Installation Steps
1. Determine Mounting Location: Decide whether you’ll install the blinds inside the window frame for a cleaner look or outside for better light blockage and to cover unappealing windowsills.
Install Brackets:
- Inside Mount: Align the brackets with the pre-drilled holes in the headrail of the blind, marking their position on the window frame.
- Outside Mount: Measure and mark the bracket positions according to the manufacturer’s instructions, usually a few inches above the window frame for stability and appearance. Use a level to ensure they’re straight.
- Drill pilot holes, insert wall anchors if necessary, then screw the brackets securely into place.
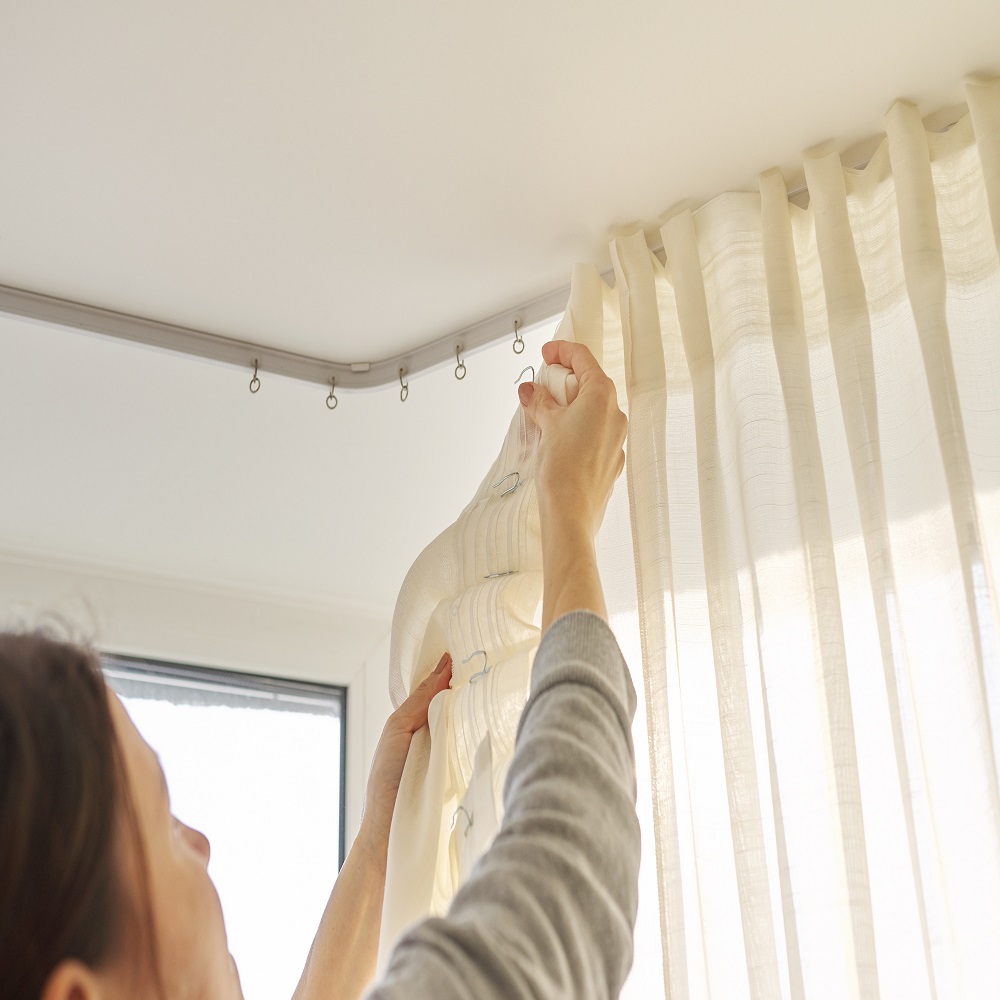
Attach the Headrail:
- Carefully slide the headrail of the blind onto the brackets. Most blinds have a snap or locking mechanism to secure them in place. Follow the specific instructions provided with your blinds.
Hang the Blinds:
- If your blinds are of the pull-down variety (like roller or Roman shades), gently lower them into the brackets.
- For Venetian or vertical blinds, ensure all slats or vanes are properly aligned before lowering the blind into the brackets.
Adjust and Test:
- Operate the blinds to ensure they open, close, and tilt smoothly. Make any necessary adjustments, such as tightening screws or realigning the headrail if it’s not level.
Finishing Touches:
- Trim any excess cord or chain using scissors or a cord cutter, ensuring you follow safety guidelines to avoid accidental strangulation hazards, especially if there are children or pets in the house.
- Install cord cleats or tension devices to keep cords safely out of reach.
Tips for Success
- Always follow the manufacturer’s instructions specific to your blind model, as sizes and installation methods can vary.
- Double-check all measurements and leveling before drilling to avoid mistakes.
- If you’re unsure about drilling into walls, use a stud finder to locate studs for added stability.
- Consider adding decorative trim around outside-mounted blinds for a more polished look.
- Take breaks if needed; installing multiple blinds can be physically demanding.
By following these steps meticulously, you’ll not only successfully install your window blinds but also achieve a professional-looking finish that enhances your home’s aesthetic and functionality. Remember, patience and precision are key to achieving that perfect installation. Happy DIYing!
Common Challenges & Solutions
Uneven Walls or Windows
Solution: If your walls or window frames are uneven, opt for outside mounting and use shims behind the brackets to level them out. This ensures the blind hangs straight despite the wall’s imperfections.
Insufficient Support
Solution: When drilling into drywall and encountering no studs, use heavy-duty wall anchors designed for the weight of your blinds. This prevents the brackets from pulling out over time.
Difficult-to-Reach Areas
Solution: For high or hard-to-reach windows, use a sturdy ladder and have someone assist you. Alternatively, consider using a telescoping pole with a drill attachment to help with installations in tricky spots.
Misaligned Brackets
Solution: Before fully securing the brackets, use a level to check their alignment. If you notice misalignment after installation, remove and reposition the brackets correctly. A slightly crooked blind can be frustrating and affect its operation.
Maintenance and Cleaning
- Regular Dusting: Use a microfiber cloth or duster to remove dust from the slats or fabric regularly. This prevents buildup that can damage the blinds over time.
- Deep Cleaning: Depending on the material, you may be able to use a damp cloth or a mild detergent solution for deeper cleaning. Check the manufacturer’s recommendations to avoid damaging the finish.
- Pet Hair Removal: For homes with pets, use a rubber glove or a lint roller to pick up pet hair stuck on fabric blinds or between the slats of Venetian blinds.
- Cord Maintenance: Keep cords clean and tangle-free to ensure smooth operation. Replace damaged cords immediately to prevent accidents.
Enhancing Energy Efficiency
- Insulated Blinds: If energy efficiency is a concern, consider installing cellular or honeycomb blinds, which provide insulation against heat loss in winter and heat gain in summer.
- Light Control: For rooms requiring more light control, blackout blinds can be an excellent choice. They not only enhance privacy but also improve room darkening for better sleep.
Troubleshooting Common Issues During Blind Installation
Despite careful planning and execution, you may encounter some common challenges during the installation process. Here are a few troubleshooting tips to help you overcome these hurdles:
Uneven Blinds or Sagging
Issue: The blinds appear crooked or sag in the middle.
Solution:
- Double-check that your brackets are level. If not, remove and reposition them correctly.
- Ensure the headrail is seated evenly on the brackets. Sometimes, a slight adjustment can fix the issue.
- For longer blinds, additional support brackets might be necessary. Check the manufacturer’s instructions for guidance.
Difficulty Operating the Blinds
Issue: The blinds are hard to raise, lower, or tilt.
Solution:
- Lubricate moving parts such as the tilt rod or lift mechanism with a silicone-based spray. Avoid oil-based products as they can attract dust.
- Check for any obstructions, like a slat caught in the mechanism, and free it.
- Adjust the tension on the lift cords or chains, if adjustable, according to the manufacturer’s instructions.
Excess Cord Length
Issue: There’s too much slack in the lift cords or chains.
Solution:
- Use the provided cord cleat to neatly wrap and secure excess cord, ensuring it’s at least 1.8 meters (6 feet) off the ground to reduce the risk of entanglement.
- Some blinds come with a built-in cord lock system that allows you to adjust the cord length. Consult the manual for instructions.
Light Leakage
Issue: Light seeps in around the edges of the blinds.
Solution:
- For inside mounts, consider using light-blocking tape or blackout liners to seal any gaps.
- If you have outside mounts, ensure the blinds fully cover the window frame. You might need to remount or choose wider blinds.
Maintenance and Longevity
To ensure your newly installed blinds continue to look and function their best, follow these maintenance tips:
- Regular Cleaning: Dust or vacuum your blinds regularly with a soft brush attachment to prevent buildup.
- Deep Cleaning: Depending on the material, you may be able to clean your blinds with a damp cloth or gentle detergent solution. Check the manufacturer’s recommendations first.
- Avoid Direct Sunlight: Prolonged exposure to direct sunlight can fade or damage certain types of blinds. Consider using sheer curtains or UV-blocking films to protect them.
Final Thoughts
Installing window blinds yourself is not only cost-effective but also empowering, allowing you to customize your living space to your liking. By following this step-by-step guide, tackling common challenges, and maintaining your blinds properly, you can create a beautifully finished look that enhances both the functionality and aesthetics of your home. Remember, practice makes perfect, and with each successful installation, you’ll gain confidence and skill in your DIY abilities. Enjoy the process and the satisfaction of a job well done!