Introduction
How to remove levolor blinds – Removing Levolor blinds may seem like a daunting task, but with the right tools and a bit of patience, you can do it yourself efficiently. Whether you need to clean the blinds, replace them, or make room for new window treatments, this guide will walk you through the process step-by-step. Follow these instructions to ensure a smooth and hassle-free removal.
Taking down your Levolor blinds for cleaning, repair, or replacement can seem like a daunting task, especially if it’s your first time doing so. However, with the right guidance and a few simple steps, you can easily accomplish this task without causing any damage to your blinds or your window frame. Levolor blinds, known for their quality and custom designs, typically come with a user-friendly installation system that also makes removal straightforward. Here’s a detailed guide on how to easily take down your Levolor blinds.

Materials Needed
- Screwdriver: A Phillips or flathead screwdriver, depending on the type of screws used.
- Pliers: For any tight or stubborn components.
- Step Ladder: To safely reach high window blinds.
- Dust Cloth or Vacuum: For cleaning the area around the blinds.
Prepare the Area
Before you begin, clear the area around the blinds to give yourself enough space to work. Place a dust cloth or sheet on the floor to catch any falling dust or debris. Ensure you have a step ladder if the blinds are mounted high.
Locate the Mounting Brackets
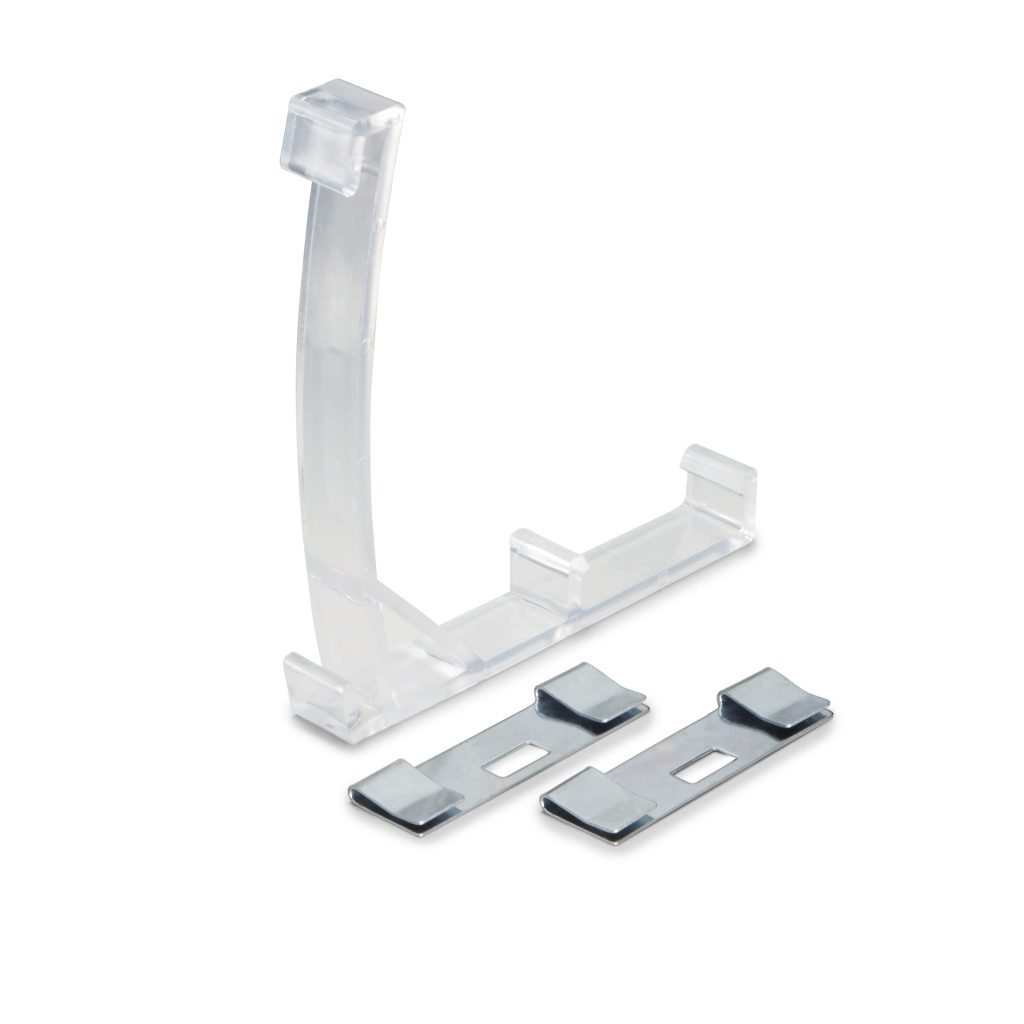
Levolor blinds are typically mounted with brackets at the top of the window frame. These brackets can be either inside the frame or outside, depending on your installation. Look for the small metal brackets that hold the blinds in place. They may be visible from the front or hidden behind a valance.
Remove the Valance (if applicable)
If your Levolor blinds have a decorative valance covering the brackets, you’ll need to remove it first. This is usually done by gently pulling it away from the brackets or removing any clips or fasteners holding it in place. Be cautious not to damage the valance or the brackets during this process.
Disengage the Blinds from the Brackets
Once the valance is removed (if necessary), focus on detaching the blinds from the mounting brackets. Depending on the style of the blinds, you may need to:
- Push Up and Out: Some blinds are held in place by a bracket that has a clip mechanism. Push the blinds upwards to release them from the clip.
- Slide Out: Other brackets might allow you to slide the blinds sideways to disengage them.
If your blinds are held by screws, use a screwdriver to loosen and remove them. Carefully lower the blinds once they are detached from the brackets.
Remove the Brackets
With the blinds removed, you can now take out the brackets. Use your screwdriver to unscrew the brackets from the wall or window frame. Be sure to keep any screws or mounting hardware, as you may need them if you plan to reinstall the blinds or install new ones.
Clean Up
After removing the blinds and brackets, clean the area around the window. Use a dust cloth or vacuum to remove any dust or debris that may have accumulated. If the blinds are being stored for future use, clean them thoroughly before putting them away.
Store or Dispose of the Blinds
If you plan to reuse the Levolor blinds, store them in a dry, safe place to prevent damage. If you are replacing them or no longer need them, dispose of the blinds according to your local regulations. Some recycling centers accept window blinds, or you may be able to donate them if they are still in good condition.
Additional Tips
- Check for Hidden Screws: Sometimes screws can be hidden behind small covers or caps. Look closely to ensure you remove all necessary screws.
- Be Gentle: Handle the blinds and brackets with care to avoid damaging the window frame or the blinds themselves.
- Take Photos: If you’re unsure about the reinstallation process, take photos of the blinds and brackets before removing them. This can help you remember how to reassemble everything later.

Tools and Materials You’ll Need
- A step ladder or stool (to safely reach your blinds)
- A clean, soft cloth (to protect the blinds and surfaces)
- A Phillips head screwdriver or an Allen wrench (depending on your blind’s mounting brackets)
- A helper (optional, for larger blinds)
Preparation
Before you begin, ensure that the blinds are fully raised to their highest position. This will make them easier to handle and reduce the risk of damage during the removal process.
Safety First
Place your step ladder or stool beneath the blinds in a stable position. Ensure that the ladder is on a flat surface and that all four legs are securely on the ground. If your blinds are particularly large or heavy, consider asking someone to assist you.
Inspect the Mounting Brackets
Levolor blinds usually have either an inside mount (fitting within the window frame) or an outside mount (mounted on the wall around the window). The mounting brackets will differ slightly based on the type of installation.
- Inside Mount: Look for small brackets attached to the top of the window frame, usually with screws or clips.
- Outside Mount: These will have brackets screwed into the wall above the window.
Remove the Blind from the Brackets
Depending on your blind’s design, there will be different release mechanisms:
For Most Standard Levolor Blinds:
- Lift the Blind: Grasp the headrail (the top bar of the blind) and gently lift it upward. There might be a locking mechanism that needs to be disengaged by lifting the blind past a certain point.
- Unlock the Brackets: Locate the release tabs or levers on the side of the brackets. These are usually small plastic tabs that need to be pushed inward or upward while simultaneously lifting the blind.
- Slide the Headrail Out: Once the brackets are unlocked, carefully slide the headrail of the blind forward and out of the bracket holders.
For Blinds with Screwed-In Brackets:
If your blinds are secured directly to the brackets with screws, you’ll need to use a screwdriver to remove these screws. Be sure to place the screws in a safe location so they don’t get lost.
Lower the Blinds Carefully
With the blind removed from the brackets, lower it gently onto a clean, flat surface. This is where having a helper comes in handy, especially for larger or heavier blinds.
Cleaning or Repair (Optional)
If you’re taking down the blinds for cleaning, now is the time to do so following the manufacturer’s guidelines. For repairs, identify the issue and proceed accordingly, or contact Levolor customer service for assistance.
Reinstallation (When Ready)
When you’re ready to put the blinds back up, follow the steps in reverse order. Make sure the brackets are securely in place and that the blind is properly aligned before locking it back in.

Safety and Precautions
- Always use caution when working on a ladder or stool to avoid falls.
- Be gentle with the blinds to prevent bending or damaging the slats.
- If you encounter any unexpected resistance or difficulty, double-check the blind’s manual or contact Levolor’s customer support for further guidance.
Conclusion
Removing Levolor blinds can be a straightforward process if you follow these steps carefully. By preparing your workspace, carefully detaching the blinds, and cleaning up afterwards, you can successfully remove your blinds and make way for new window treatments or simply enjoy a clearer view.
