Introduction
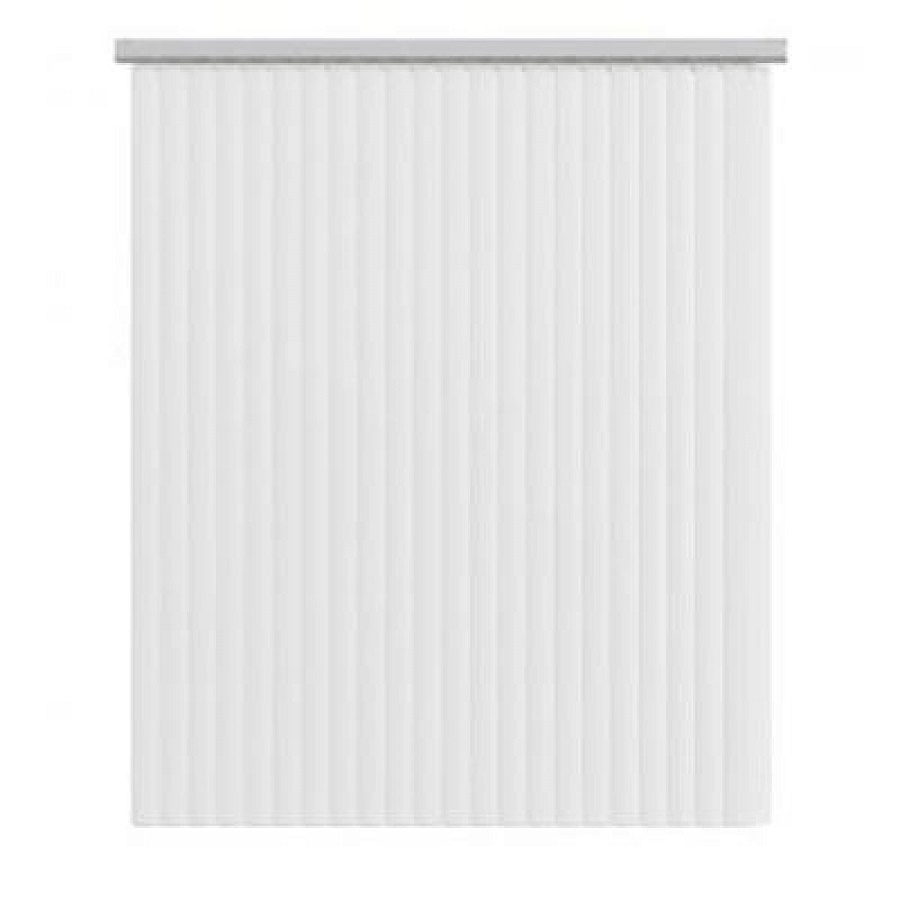
Vertical blinds are a fantastic solution for larger windows and sliding doors, offering a blend of functionality and aesthetics. They allow you to control light, privacy, and airflow while adding a touch of elegance to your decor. While there are many pre-made options available in stores, creating your own DIY vertical blinds can be a rewarding project that also saves you money. In this guide, we will take you through the entire process of making your own vertical blinds from scratch.

Materials You’ll Need
Before starting your DIY project, gather the following materials:
- Fabric: Choose a durable, lightweight fabric that complements your space. You’ll need enough fabric to cover the width of the window plus a little extra for seams. Common choices include polyester, cotton, or blackout fabric if you want to darken the room.
- Vertical Blind Hardware: You’ll need a vertical blind track system, which can often be found at home improvement stores or online. Ensure it includes all necessary components: the mounting brackets, headrail, and hanging clips.
- Blind Weights: These help keep the blinds in place and add stability, especially if your blinds are long.
- Curtain Rings or Clips: These will help attach the fabric panels to the track.
- Measuring Tape: For precise measurements.
- Scissors or Rotary Cutter: For cutting fabric.
- Sewing Machine or Fabric Glue: If you’re using a sewing method, a machine will make the process easier, but fabric glue can work for those who are not keen on sewing.
- Iron: To ensure your fabric is wrinkle-free.
- Optional: Decorative Trims: If you want to add a bit of personality to your blinds.
Step-by-Step Guide
Measure Your Window
Accurate measurements are crucial for creating blinds that fit perfectly. Measure the width and height of the window or sliding door. For an outside mount, add a few inches to the width to ensure good coverage. For an inside mount, measure precisely without adding extra width.
Calculate Fabric Amount
For vertical blinds, each panel is typically between 24 inches and 36 inches wide. If your window is wide, you may need multiple panels. To determine how much fabric you’ll need, consider the total width (including allowances for seams) and the height of each panel.
Cut the Fabric
Once you have your measurements and fabric amount, cut the fabric accordingly. Remember to add an extra inch for the top hem and about half an inch for the side hems. If you’re using fabric that frays, consider using a zigzag stitch or hem tape on the edges.
Prepare the Fabric
- Hemming: Hem the sides and bottom of each panel. For a clean finish, fold the fabric over to the wrong side and sew along the edge or use fabric glue to secure. For the top hem, fold over about an inch to create a channel for the curtain rings or hooks.
- Attach Weights: Insert weights at the bottom of each panel to ensure they hang properly. You can sew them into the hem or glue them if you’re using fabric glue.
Assemble the Vertical Blind Track
Follow the manufacturer’s instructions to assemble the vertical blind track system. Generally, this involves attaching the mounting brackets to the wall or window frame and sliding the headrail into position.
Attach Panels to the Track
Once the track is installed, thread the fabric panels through the curtain rings or clips on the headrail. Space them evenly for a uniform look. If you’ve chosen to add decorative trims, now is the perfect time to attach them along the top hem or edges of the fabric.
Hang the Vertical Blinds
Carefully hang the assembled vertical blinds on the track. Make sure they slide smoothly along the rail. Adjust the spacing and alignment as necessary and ensure that each panel hangs straight.
Final Touches
Once the blinds are hung, step back and evaluate their appearance. Iron out any wrinkles, and make any adjustments to the positioning of the panels if needed.
Optional Step: Customize and Decorate
If you wish to personalize your blinds further, consider adding some decorative elements like lace, contrasting fabric strips, or embellishments. This can create a unique style that reflects your personality.
Regular Maintenance
To maintain your DIY vertical blinds, periodically dust or vacuum them to prevent dust accumulation. If they get dirty, check the manufacturer’s recommendations for cleaning fabric.

Understanding Vertical Blinds
Before diving into DIY solutions, it’s essential to understand what vertical blinds are and how they function. Vertical blinds have longer slats that hang vertically and can be drawn to one side to allow access to the window. They are typically used for large windows and sliding doors, providing a modern look while still allowing for easy light control. Available in various materials, colors, and patterns, the possibilities for customization are endless.
Why DIY Vertical Blinds?
- Cost-Effective: Custom vertical blinds can range from $100 to over $300, depending on size and materials. By creating your own, you can save significantly.
- Personalization: DIY blinds allow you to choose specific fabrics, colors, and patterns that match your decor perfectly.
- Satisfaction: There’s a sense of accomplishment and pride that comes from completing a home project yourself, making your space uniquely yours.
- Flexibility: You can create different styles and functionalities based on your needs, like blackout options, sheer fabrics, or patterned materials.
Materials You’ll Need
To make your custom vertical blinds, gather the following materials:
- Vertical Blind Slats: You can purchase fabric or vinyl slats from a craft store, or repurpose old vertical blinds.
- Blinds Headrail: This is the track that holds the slats in place. You can buy a ready-made track or create one using PVC pipes or wood.
- Fabric or Paint: If you’re using slats, consider covering them with fabric or paint them to match your décor.
- Curtain Clips or Rings: To attach the slats to the track.
- Measuring Tape: For precise measurements.
- Scissors or a Rotary Cutter: For cutting slats.
- Sewing Machine or Fabric Glue: If you choose to cover slats with fabric.
Maintenance Tips
- Dusting: Regularly dust your blinds with a microfiber cloth or a feather duster to keep them looking fresh.
- Cleaning: For fabric-covered blinds, spot-clean as needed. For vinyl or plastic, you can wipe them down with a damp cloth.
Final Touches
To add an extra stylish flair, consider incorporating decorative elements such as trim or tassels at the bottom of the slats. Another option is to paint the headrail to match your room’s color scheme, providing a seamless look.

Conclusion
Creating your own DIY vertical blinds not only provides you with a practical solution for your windows but also allows you to inject your personal style into your space. With just a few materials and some time, you can enhance your home with beautiful, functional blinds tailored to your preferences. Whether you opt for a simple design or a more intricate style, the satisfaction of completing this project will be worth the effort. Enjoy the light control and privacy that your new vertical blinds bring to your home!
Creating your own custom vertical blinds can be an enjoyable and fulfilling project that adds both functionality and style to your living space. With manageable steps and a little creativity, you can make beautiful, budget-friendly vertical blinds tailored to your unique needs and preferences. Not only will you enhance your home’s décor, but you’ll also gain valuable DIY skills that you can use for future projects. So gather your materials, get crafty, and enjoy the satisfaction of creating something special for your windows!
