Introduction
Blinds for windows installation can drastically enhance the aesthetics and functionality of any room. Whether you’re renovating your home or simply looking to improve privacy and light control, understanding how to install window blinds is an essential skill. This comprehensive guide provides you with step-by-step instructions, tips, and tricks to ensure a smooth installation process.
Materials Needed
Before you begin, gather the following materials:
- Window blinds (ensure they are the right size for your windows)
- Measuring tape
- Level
- Pencil
- Drill
- Screws (usually included with the blinds)
- Screwdriver
- Brackets (also typically included)
- Safety glasses
- Stud finder (for mounting over drywall)
Measure Your Windows
Accurate measurements are crucial before purchasing your window blinds or installing pre-purchased ones. Follow these steps:
- Width Measurement:
- Measure the width of your window frame at three points (top, middle, and bottom) and use the widest measurement for your blinds.
- Height Measurement:
- Measure from the top of the window frame to the sill or bottom edge, again checking at three points (left, center, right) and using the longest measurement.
- Decide on Mounting Style:
- Inside Mount: Blinds fit inside the window frame. This requires precise measurements so that the blinds can fit perfectly.
- Outside Mount: Blinds hang outside the frame, providing a broader visual impact and allowing for better light control.
Gather Your Tools
Make sure you have all necessary tools necessary for the installation process. This includes:
- Drill and drill bits
- Screwdriver
- Level (to ensure everything is straight)
- Stud finder (to locate studs in the wall for mounting)
Prepare Your Blinds
If you’ve purchased ready-made blinds, unpack them carefully. For custom blinds, confirm that they match your measurements.
- Check All Parts: Ensure that all components (blinds, brackets, screws, and installation instructions) are included.
- Read the Instructions: Get familiar with the specific instructions that come with your blinds since designs may vary slightly.
Mark the Bracket Placement
- Choose Installation Location:
- For outside mounts, position the brackets several inches above the window frame to allow full coverage of the window, considering the amount of light you want to block. Position the brackets around 1-2 inches out from the window frame for proper extension.
- For inside mounts, position brackets at the top of the window frame. Use your level to make sure they will be straight.
- Mark Your Drill Holes:
- Hold the brackets in place and use a pencil to mark the positions of the screw holes.
Drill Pilot Holes
- Choose Your Drill Bit:
- Use a drill bit that is slightly smaller than the screws you will be using. This ensures a snug fit.
- Drill the Holes:
- Carefully drill where you marked the holes, ensuring you are straight and steady.
Attach the Brackets
- Position the Brackets:
- Align the brackets with the drilled holes.
- Screw in the Brackets:
- Use your drill or screwdriver to attach the brackets into the wall. Ensure they are tightly secured but avoid overtightening to prevent damage.
- Check Level:
- Use your level again to ensure each bracket is straight before the screws are fully tightened.
Install the Blinds
- Insert the Blinds:
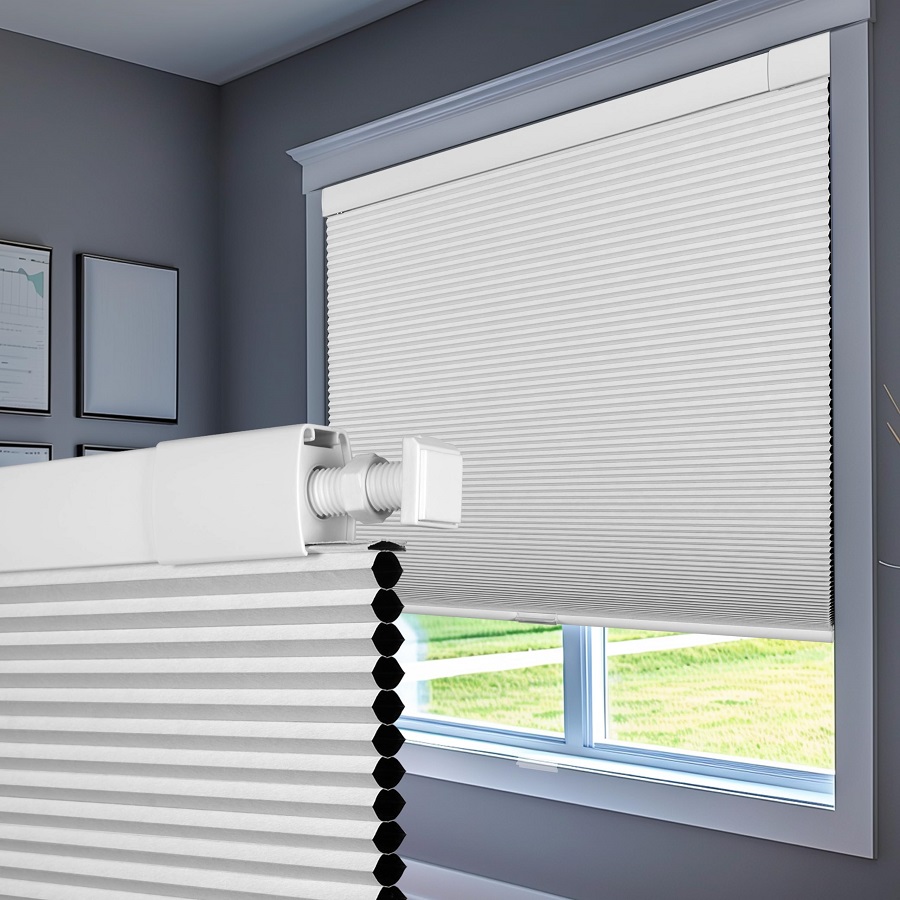
- For most window blinds, you will lift the blinds onto the installed brackets. The top rail should slide into the hook or notch on the brackets.
- Secure the Blinds:
- Once the blinds are in place, there might be screws or clips provided with the brackets to secure the blinds. Make sure to follow the specific instructions for your window blinds.
- Adjust and Test:
- Pull the blinds up and down a few times to ensure they operate smoothly. Adjust as necessary and make sure they are properly aligned.
Install Any Additional Hardware
- Valances or Clips: If your blinds come with a valance for a more finished look, now is the time to install it according to the provided instructions.
- Hold-Down Brackets: If applicable (especially for vertical blinds), attach hold-down brackets to keep the blinds secure at the bottom.
Final Inspection and Adjustment
- Check Operation:
- Open and close the blinds multiple times to ensure they operate correctly and are aligned properly.
- Inspect for Gaps:
- Check for any light gaps along the sides or bottom. Make small adjustments if necessary.
Tips and Tricks
- Avoid Damage to Walls: Use a stud finder to ensure you’re avoiding wiring and plumbing within the walls when drilling into drywall.
- Use a Helper: Have someone hold the blinds in place while you secure brackets for added precision.
- Keep Instructions Handy: Manufacturer installation instructions often contain valuable tips specific to their product.
- Custom Blinds: If you’re working with custom blinds, consider professional installation if it seems too complicated.
- Regular Maintenance: After installation, occasionally check the blinds for any loose brackets or screws, and clean them as recommended to maintain appearance and longevity.

Why Choose Window Blinds?
Before diving into the installation process, let’s discuss the benefits of window blinds:
1. Aesthetic Appeal
Window blinds come in a variety of colors, materials, and styles, allowing you to customize your space to your taste. Whether you prefer the sleek look of modern aluminum or the warm vibe of wooden blinds, there’s an option for every interior design.
2. Light Control
One of the primary functions of blinds is to control the amount of natural light entering your room. With adjustable slats, you can easily find the perfect balance between brightness and shade.
3. Privacy Enhancements
Blinds offer a level of privacy that sheer curtains cannot. With the ability to completely cover your windows, you can enjoy your space without worrying about prying eyes.
4. Energy Efficiency
Blinds can help insulate your home, keeping it cooler in the summer and warmer in the winter. By blocking out sunlight during the hottest parts of the day, they reduce the need for air conditioning, leading to energy savings.
Choosing the Right Blinds
Before you embark on your DIY installation, it’s crucial to choose the right blinds for your needs. Here’s what to consider:
1. Material
- Wood: Offers a classic and warm look, great for traditional decor.
- Faux Wood: Ideal for areas with high humidity like kitchens and bathrooms.
- Aluminum: Sleek and modern, perfect for contemporary spaces.
- Fabric: Available in various textures and patterns, providing a softer touch.
2. Style
- Vertical Blinds: Best for large windows and sliding doors.
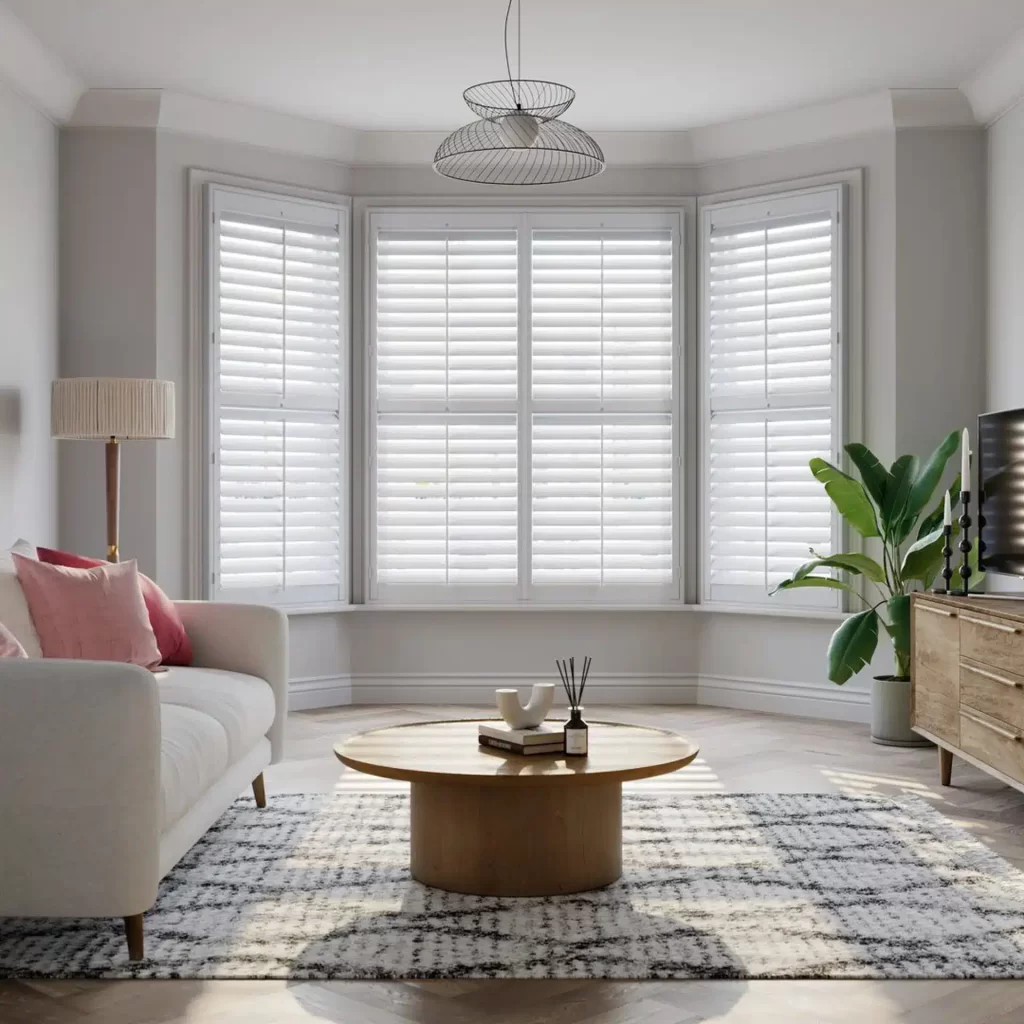
- Horizontal Blinds: Commonly used for standard windows.
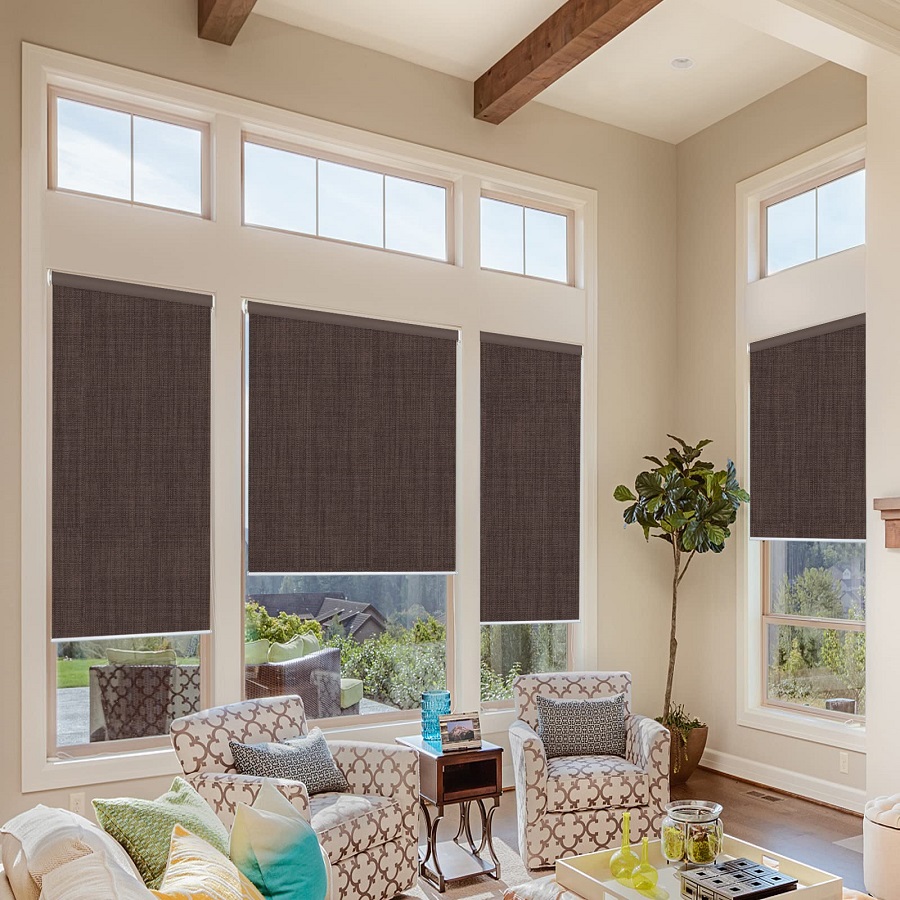
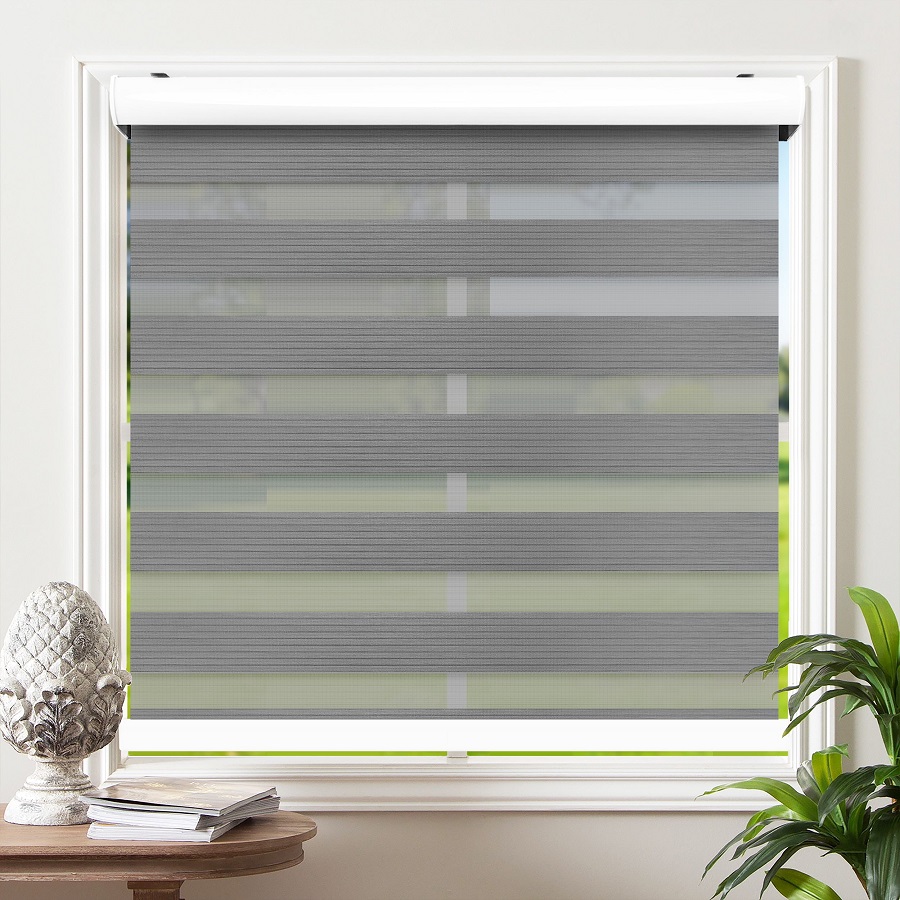
- Roller Shades: A streamlined option that can add a modern flair.
3. Color and Pattern
Choose colors and patterns that complement your walls and furniture. Light colors can help a small room feel larger, while darker shades add coziness.
Tools and Materials Needed
Before you start the installation process, gather the following tools and materials:
- Window blinds (measured to fit your windows)
- Mounting brackets (included with the blinds)
- Screwdriver (typically Phillips or flathead)
- Level
- Measuring tape
- Pencil
- Power drill (if required for screws)
- Safety goggles
Step-by-Step Installation Guide
Measure Your Windows
Accurate measurements are crucial for a successful installation. Measure the width and height of your window where you plan to hang the blinds. Depending on your preference, you can choose either inside mount (inside the window frame) or outside mount (on the wall above the window).
- Inside Mount: Measure the window’s width and height three times (top, middle, bottom for width; left, center, right for height). Use the smallest measurement for a precise fit.
- Outside Mount: Measure the desired width and height, adding a few extra inches to cover the sides and top for optimal light control and privacy.
Prepare the Installation Area
Clear the area around your window of any furniture or obstructions. This will ensure you have enough space to work and can move freely while installing your blinds.
Mark the Bracket Placement
Using a level, mark the positions where the brackets will be installed. For outside mounts, ensure the marks are straight and level above the window. For inside mounts, place the brackets on the sides or top of the window frame based on your measurements.
Install the Brackets
Using your power drill, attach the brackets to the marked spots. Ensure they are secure and level. If you’re mounting the blinds inside the frame, check for any obstructions like window locks or handles that might interfere with the blinds.
Attach the Blinds
Once the brackets are secure, it’s time to attach the blinds. Carefully lift the blinds into the brackets and ensure they’re properly seated. Most modern blinds will click into place. Follow the manufacturer’s instructions for any additional features like cords or chains.
Test the Blinds
With the blinds installed, test them to ensure they operate smoothly. Open and close them several times to check if they are properly functioning. Make any necessary adjustments to the alignment or height.
Finishing Touches
To complete your installation, take a step back and examine the overall look. You may want to add decorative tiebacks or a matching valance to enhance the appearance of your window decor.
Maintenance Tips for Your Blinds
To keep your new blinds looking great and functioning properly, here are a few maintenance tips:
- Regular Cleaning: Dust your blinds regularly with a microfiber cloth or a duster. For deeper cleaning, use a damp cloth with mild soap for wooden blinds and follow manufacturer instructions for other materials.
- Avoid Harsh Chemicals: Avoid using harsh cleaners that can damage the finish of your blinds. Stick to gentle solutions.
- Inspect Mechanisms: Occasionally check the pull mechanisms and ensure they are functioning correctly. Address any issues before they worsen.

Conclusion
Installing window blinds may seem daunting at first, but with careful planning and the right tools, you can achieve great results on your own. By following this guide, you’ll not only learn how to install them correctly but will also gain a bit of confidence in your DIY skills. Enjoy your new blinds and the benefits of enhanced light control and privacy!
