Introduction
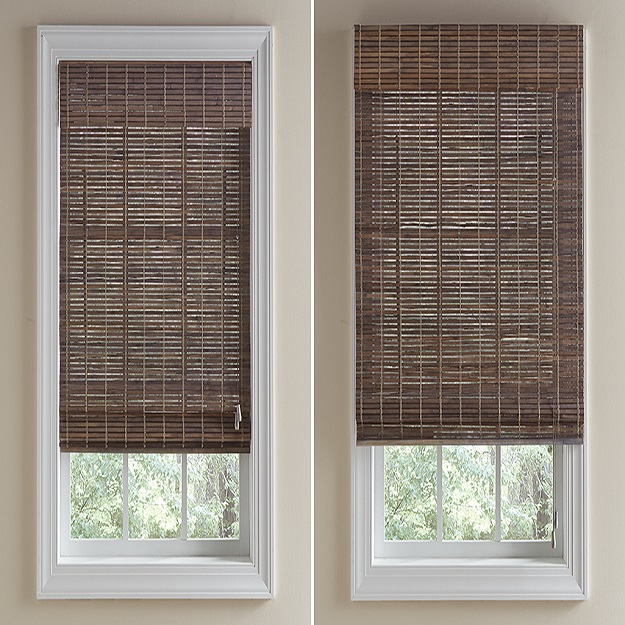
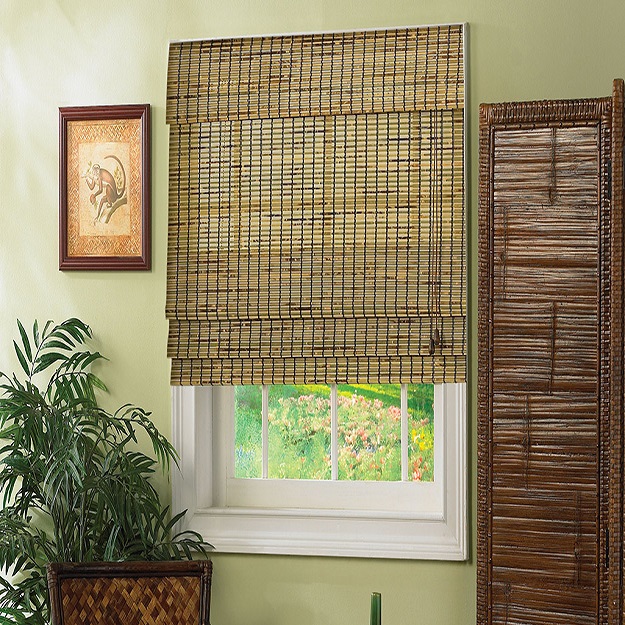
Mounting blinds inside your window frame can enhance your interior décor and create a polished look in your home. This process might seem daunting, but with the right tools and a bit of patience, you can successfully install your blinds. This guide will walk you through the steps to ensure a seamless installation.
Materials Needed:
- Window Blinds (inside-mount style)
- Measuring Tape
- Level
- Pencil
- Drill (with drill bits)
- Screwdriver
- Bracket Screws (usually included with the blinds)
- Wall Anchors (if necessary)
- Safety Glasses
- Step Ladder (if needed)
Gather Your Tools and Materials
Ensure you have all the necessary tools and materials at hand. This will save you time and effort.
Measure Your Window Frame
- Width Measurement: Measure the inside width of the window frame at three points: the top, middle, and bottom. You want the narrowest measurement, as this will ensure the blinds fit snugly.
- Height Measurement: Measure the inside height of the window frame on both the left and right sides. Again, use the shorter measurement for your blinds.
Choose Your Blinds
Based on your measurements, choose the right size blinds. If you are ordering custom-made blinds, make sure to specify the exact dimensions you’ve measured.
Determine the Bracket Placement
- Reading the Instructions: Follow the manufacturer’s instructions for the specific type of blinds you purchased.
- Outlining Bracket Placement: Generally, brackets are mounted a few inches from each end of the window frame. Use your measurements to determine where the brackets will be placed. Mark this location with a pencil.
Drill Pilot Holes
- Using a Level: Before drilling, use a level to ensure your brackets will be straight. Adjust your pencil marks as needed.
- Drilling: At your marked locations, drill pilot holes for the screws. If you encounter a wooden surface, you can drive the screws directly in; if the material is drywall, use wall anchors for additional support.
Attach the Brackets
- Positioning the Brackets: Align the brackets over the pilot holes you created.
- Screwing in the Brackets: Using a drill or screwdriver, secure the brackets in place using the screws provided. Make sure they are tightly fastened and level.
Prepare the Blinds for Installation
- Check the Orientation: Confirm the blinds are oriented correctly. Most types will have their lift mechanism either on the right or left side.
- Snapping the Headrail: If required, attach the headrail to the brackets according to the manufacturer’s instructions. This usually involves snapping it into place or sliding it along the brackets.
Install the Valance (if applicable)
- Checking Fit: Ensure the valance fits correctly with the headrail.
- Attaching the Valance: Use any clips or brackets provided in the installation kit to attach the valance above the blinds for a finished look.
Test the Operation
- Opening and Closing: Gently pull the lift cord or use the tilt mechanism to ensure the blinds operate smoothly.
- Making Adjustments: If your blinds appear crooked, adjust their alignment by loosening the brackets slightly and repositioning until they hang straight.
Clean Up
- Remove any Debris: After installation, check for any dust or debris from drilling.
- Put Away Tools: Store your tools properly for future use.
Additional Tips:
- Safety First: Always wear safety glasses when drilling and handling tools.
- Seek Assistance: If your window is large or you’re installing a heavier type of blind, consider enlisting the help of a friend.
- Follow Manufacturer’s Instructions: Each type of blinds may have specific instructions or requirements. Always refer to these for guidance.

Choosing the Right Blinds
Before considering the installation process, it’s crucial to select blinds that fit your space and personal style. Here are a few options to consider:
- Vertical Blinds: Ideal for large windows or sliding glass doors, providing easy operation and modern appearance.
- Horizontal Blinds: Classic options that work well for standard windows, coming in various materials like wood, faux wood, and aluminum.
- Roller Shades: Versatile and available in many colors and patterns, they can provide a clean look and range of light-filtering options.
- Cellular Shades: Known for energy efficiency, these shades made from honeycombed material trap air, providing insulation.
Taking Accurate Measurements
Proper measurements are vital for achieving an ideal fit. Here are some steps to ensure accuracy:
- Width Measurement: Measure the inside width of your window frame in three places: the top, middle, and bottom. Use the narrowest measurement to determine the width of the blinds. This will ensure they fit snugly without any gaps.
- Height Measurement: Similar to the width, measure the height inside the window frame at both the left and right sides, and in the center. Use the longest length for the height of the blinds.
- Depth Measurement: Make sure to check the depth of your window frame. Some blinds require a minimum depth for mounting, and you want to ensure there’s enough space to fully operate the blinds.
Gathering the Right Tools and Materials
Before beginning the installation, gather the necessary tools and materials:
- Tools: Pencil, measuring tape, level, cordless drill or screwdriver, and a ladder (if necessary).
- Materials: The blinds package (which typically includes mounting brackets and hardware), drywall anchors (if mounting into drywall), and a stud finder (to locate secure mounting points).
Choosing the Mounting Style
Inside mount blinds usually come with two mounting style options: flush mount or recessed mount.
- Flush Mount: The blinds sit flush with the window frame, creating a neat profile that allows for the blinds to sit tightly within the frame.
- Recessed Mount: The blinds sit slightly further back in the frame, allowing for more decorative moldings or trimmings, but may not block as much light.
Select the style that best suits your window’s dimensions and your desired aesthetic.
Installing the Mounting Brackets
Follow these steps for proper bracket installation:
- Mark the Drill Holes: Use a pencil to mark where the mounting brackets will go. Ensure they’re evenly spaced and level. Many manufacturers provide a template to ease this process.
- Drill the Holes: If you’re drilling into wood, use a wood bit; for drywall, use drywall anchors to ensure a secure hold.
- Attach the Brackets: Use screws to securely attach the brackets to the wall or window frame. A level can help ensure they are straight before fully tightening.
Installing the Blinds
After the brackets are securely in place, it’s time to install the blinds:
- Place the Blinds on the Brackets: Once the brackets are mounted, carefully place the blinds onto the brackets. Ensure that they’re evenly balanced to avoid sloping.
- Secure Any Additional Components: Most blinds will also include a valance or a decorative top piece that adds to the look. Follow the instructions to secure these components.
Final Adjustments
Once the blinds are installed, test the operation to ensure they function correctly:
- Check for Movement: Raise and lower the blinds several times to ensure smooth operation. Make any necessary adjustments to the tension or alignment.
- Inspect Alignment: Check that the blinds are level and centered within the window frame. Small adjustments can usually be made by shifting the brackets or the blinds themselves.
Maintenance and Care
After successfully mounting your blinds, keep maintenance in mind to prolong their life:
- Regular Cleaning: Dust blinds regularly with a microfiber cloth or a duster. For deeper cleaning, remove the blinds and wash them according to the manufacturer’s instructions.
- Check Mechanisms: Occasionally inspect the lifting mechanisms and cords for wear and tear to ensure safe and functional operation.
Handling Common Issues
Sometimes, even with the best preparation, issues may arise. Here are a few problems and their solutions:
- Blinds Won’t Stay Up: This may indicate a problem with the cord or the lift mechanism. Check for tangles or wear and consider replacing parts as necessary.
- Gaps on Sides: If there are noticeable gaps, double-check your measurements and installation methods, and consider adding side panels or curtains for better light control.

Conclusion
Mounting blinds inside your window frame is a manageable DIY project that can dramatically enhance the look and feel of your space. With careful measurement, proper tools, and a bit of time, you can successfully install your blinds, adding both style and functionality to your windows. Enjoy your new window treatments and the privacy and beauty they bring to your home!
