Introduction
DIY window blinds – Window treatments can dramatically affect the ambiance and style of any room. While ready-made blinds and shades are widely available, creating your own custom window blinds not only allows for personalized design but can also be a rewarding and cost-effective DIY project. In this comprehensive guide, we’ll walk you through the essential steps to create your own stylish window blinds, providing tips, materials needed, and design ideas. Let’s dive in!
Understanding Your Window and Design Needs
Before you begin, it’s crucial to evaluate your windows and decide on the style you’d like to achieve. Consider the following:
- Window Measurements: Measure the width and height of your windows. Be precise and account for any obstructions such as window handles or radiators.
- Desired Light Control: Do you want blackout blinds, sheer panels, or something in between? This will influence your fabric and design choices.
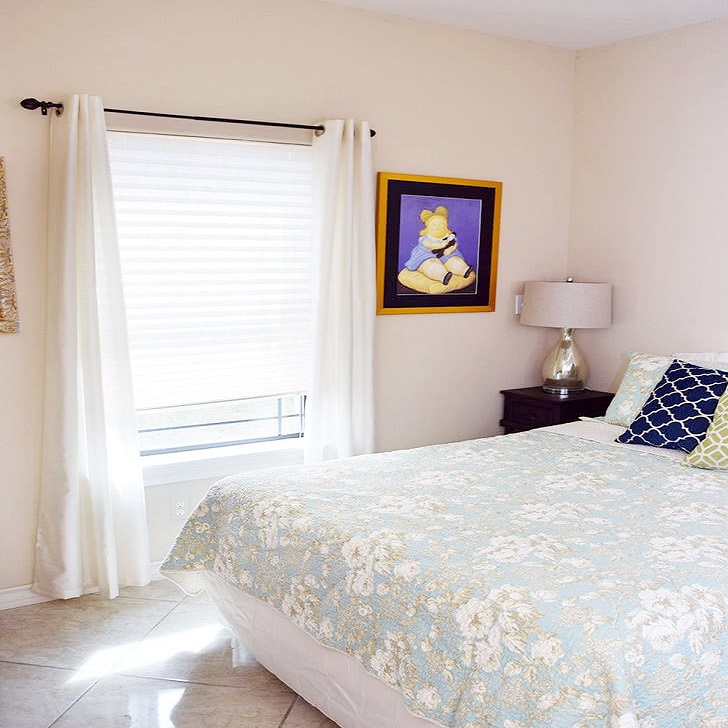
- Room Style: Think about the overall aesthetic of your room. Is it modern, rustic, eclectic, or traditional? Your DIY window blinds should complement the existing décor.
- Functional Needs: Consider how often you will need to open and close the blinds. Roman shades, for instance, can be a great option for rooms with low traffic, while roller blinds may be better for frequently used spaces.
Materials Needed
Based on your chosen design and function, you will need the following materials:
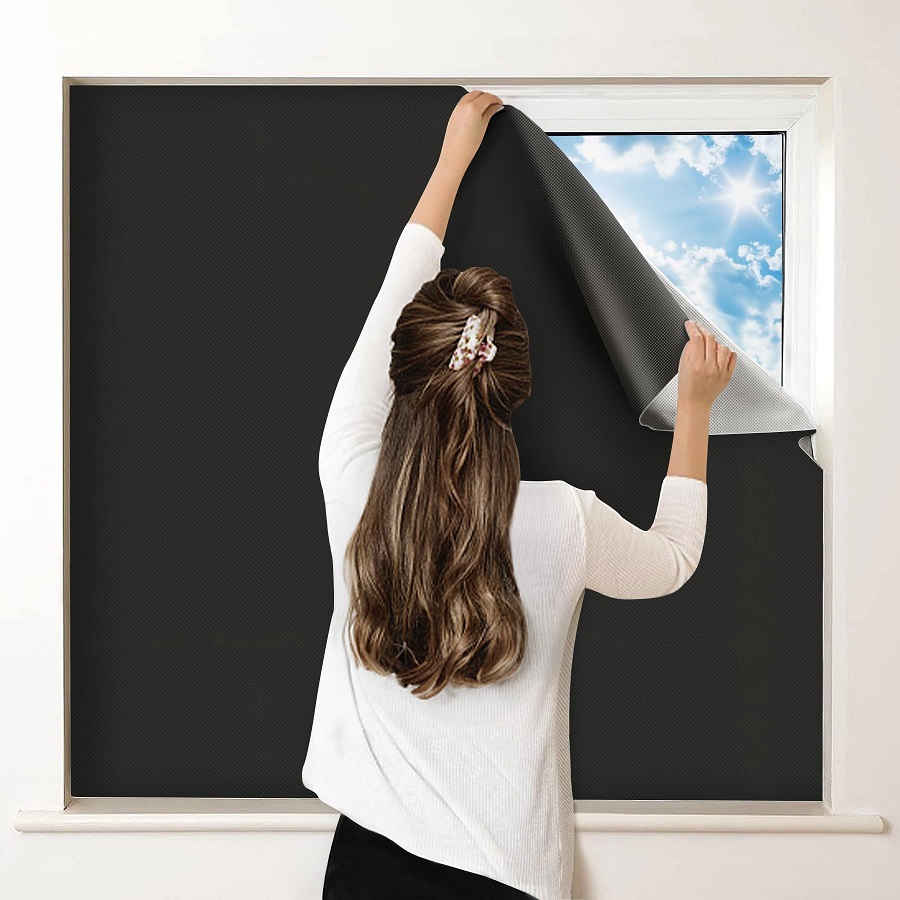
- Fabric: Choose a fabric that suits your style—cotton, linen, faux silk, or blackout fabric for more privacy.
- Blinds Mechanism: Depending on your design (Roman, roller, or bamboo), you’ll need specific mechanisms. You can find kits at craft stores or online.
- Curtain Rod or Dowels: If you’re making a simple blind, a strong rod or dowels can be used for the structure.
- Wire or Ribbon: For functional elements like pull cords or to secure fabric panels.
- Scissors: For cutting fabric and other materials.
- Sewing supplies: Thread, sewing machine (or needle), and pins if you’re sewing your fabric.
- Adhesive: Fabric glue or hot glue for less complex designs.
- Measuring tape and level: Accurate measurements and straight hanging.
- Decorative elements: Optional embellishments such as tassels, trims, or fabric paint.
Step-by-Step Instructions
Measure and Cut Fabric
- Measure: Using your tape measure, measure the width and length of your window, then add extra fabric for hems (about 1-2 inches on all sides).
- Cut Fabric: Based on your measurements, cut your fabric neatly with scissors. If utilizing multiple panels, ensure all pieces are cut to the same size for a uniform look.
Prepare the Fabric
- Hemming: To prevent fraying and to give your blinds a polished look, you’ll want to hem the edges. Fold over the edges about half an inch and sew or glue them in place. For a no-sew option, fabric tape can be used.
- Adding Weight: To ensure the blinds hang straight and don’t sway excessively, sew small weights (like sewing weights or washers) into the bottom hem of the fabric.
Create the Support Structure
- For Roman Blinds: You’ll need to attach horizontal support rods to your fabric for flexibility. Space them evenly and secure them with fabric glue or by sewing.
- For Roller Blinds: Attach your fabric to a roller mechanism using the provided tabs in your kit. Ensure the fabric rolls evenly and isn’t too loose or tight.
Install the Blinds Mechanism
- Mounting: Depending on your chosen mechanism, follow the manufacturer’s instructions for installation. If you’re using a curtain rod or dowels, drill brackets into the wall at a level above the window frame.
- Hang Your Blinds: Carefully hang your blinds to ensure everything is even and secure.
Finishing Touches
- Add Pull Cords: For Roman and roller blinds, attach pull cords to raise and lower the blinds. Make sure they’re at a height that is accessible but also safe, particularly for homes with children or pets.
- Embellishments: Attach any decorative elements you desire! This might include tassels, ribbon, or even a coat of fabric paint to add your unique design touch.
Step 6: Adjust and Enjoy
- Final Adjustments: Once your DIY window blinds are hung, test them to ensure everything operates smoothly. Adjust the length or cords if necessary.
- Final Touches: Style your room around your new window treatments. Add other decorative elements or furniture pieces to enhance the aesthetic.
Design Ideas
Here are some creative DIY window blind designs to inspire your project:
- Reclaimed Wood Blinds: Create a rustic look by using reclaimed wood for slats. Stain or paint for a distressed finish.
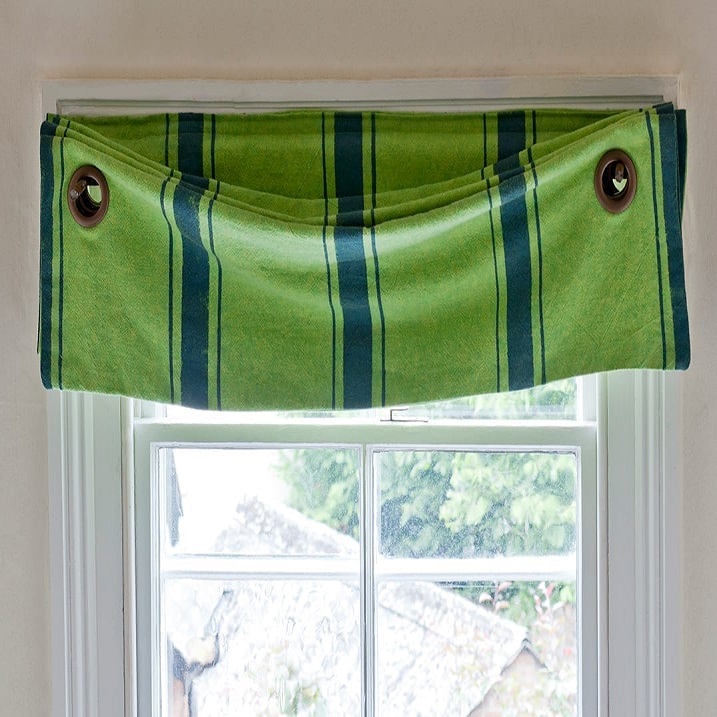
- Fabric-Covered Roller Blinds: Use a fun or bold patterned fabric to recover a plain roller blind for a fresh, modern look.
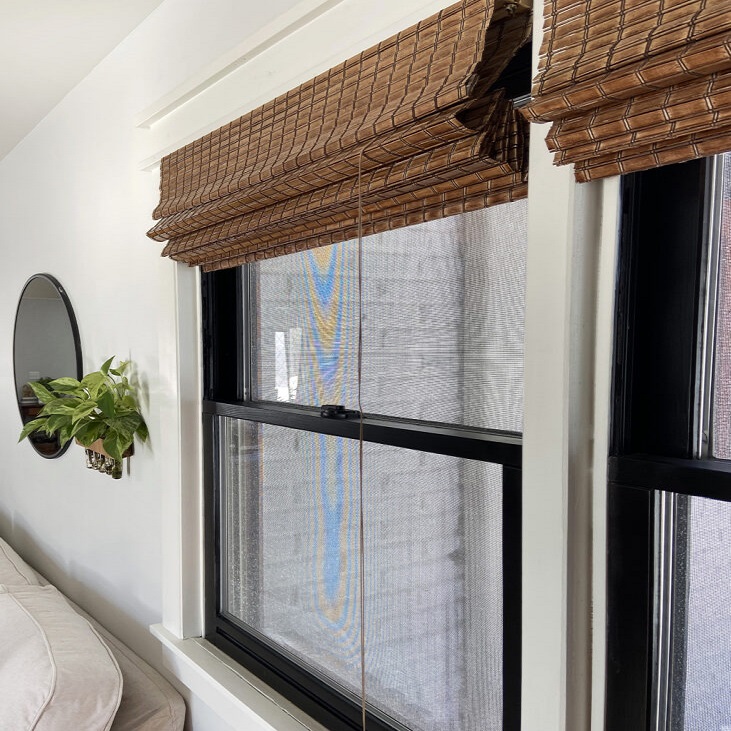
- Bamboo Shades: Using natural bamboo for a more organic feel can add warmth and texture to your space.
- Stenciled Blinds: Use fabric paint and stencils to create unique designs on plain fabric blinds.
- Macramé Blinds: If you’re feeling adventurous, consider creating bohemian-style macramé window treatments.

Why DIY Blinds?
Creating your own DIY window blinds has several benefits:
- Cost-Effective: Purchasing ready-made blinds can be costly, especially when dealing with larger windows or unique sizes. DIY blinds can significantly reduce expenses.
- Customization: By making your own blinds, you can choose the fabric, color, and style that perfectly complement your décor.
- Satisfaction: There is a unique sense of accomplishment that comes from creating something with your own hands.
- Eco-Friendly Options: DIY projects enable you to recycle materials, which can be better for the environment.
- Unique Design: You won’t find another pair of blinds quite like yours!
Supplies You Will Need
The supplies you require will vary based on the type of blinds you choose to make. Here are the basic materials to get started:
- Fabric: Choose a fabric that suits your style and is suited for your room’s function (heat resistance, light filtering, etc.).
- Wood or PVC for Slats: You may choose balsa wood, laminate, or PVC. You can also consider using upcycled materials like old timber.
- Curtain Rod or Dowels: These will be used to hang your blinds and should complement the overall aesthetic.
- Cord or Twine: This will facilitate the opening and closing mechanism of your blinds.
- Curtain Ring Clips (if applicable): If you opt for fabric blinds, these will help create a professional appearance.
- Paint or Stain: If you want to finish your wood or PVC slats.
- Basic Tools: Scissors, a ruler or measuring tape, a saw (if necessary for cutting slats), a drill, and a sewing machine or needle and thread if you sew your fabric.
Choosing the Style of Blinds
There are a few styles of blinds you can create, but here are two popular options:
- Roller Blinds: Made from fabric, they roll up and down.
- Horizontal Slat Blinds: These have adjustable slats that can be tilted to control light.
Step-by-Step Instructions
Creating Fabric Roller Blinds
- Measure Your Window: First, measure the width and height of your window. Add a few inches on each side for desired coverage.
- Cut the Fabric: Cut the fabric according to your measurements. If you want a lining for extra privacy, cut that too.
- Sew the Edges: Fold and sew the edges to prevent fraying. This adds a finished look.
- Create the Roller Mechanism: Attach your fabric to the curtain rod or dowel using fabric glue or by sewing a pocket at the top.
- Finish the Bottom: Sew a weight or a wooden dowel to the bottom of the fabric to keep it straight.
- Attach to Wall: Use brackets to secure the rod above your window.
- Thread the Cord: If you want a pull cord, thread it through the rings and secure it to the wall.
Creating Horizontal Slat Blinds
- Measure Your Window: Like before, measure the window’s width and height.
- Cut Slats: Cut the wood or PVC slats to your desired width (typically 2 to 3 inches).
- Paint or Stain: If you wish to color the slats, now is the time to paint or stain them and let them dry.
- Drill Holes: Make holes at the ends of each slat for the cords to go through.
- Create the Window Frame: Use the curtain rod or dowels to create a frame above your window.
- String the Slats: Thread the cord through the holes of the slats, securing them with knots at the bottom.
- Add a Tension Mechanism: You can make a simple pully system at the sides to help in adjusting the slats.
- Secure to Wall: Install the frame to the wall and hang your slat blinds.

Conclusion
Making your own stylish window blinds is an empowering DIY project that can elevate your living spaces, save you money, and satisfy your creative instincts. Whether you’re looking for something modern and sleek or comfortable and rustic, the ability to customize means you can achieve the perfect look for your home. With this guide in hand, you’re now equipped to tackle your DIY blinds project confidently. So roll up your sleeves, gather your materials, and let your creativity flow! Happy crafting!
