Types of Blinds Brackets and Their Differences
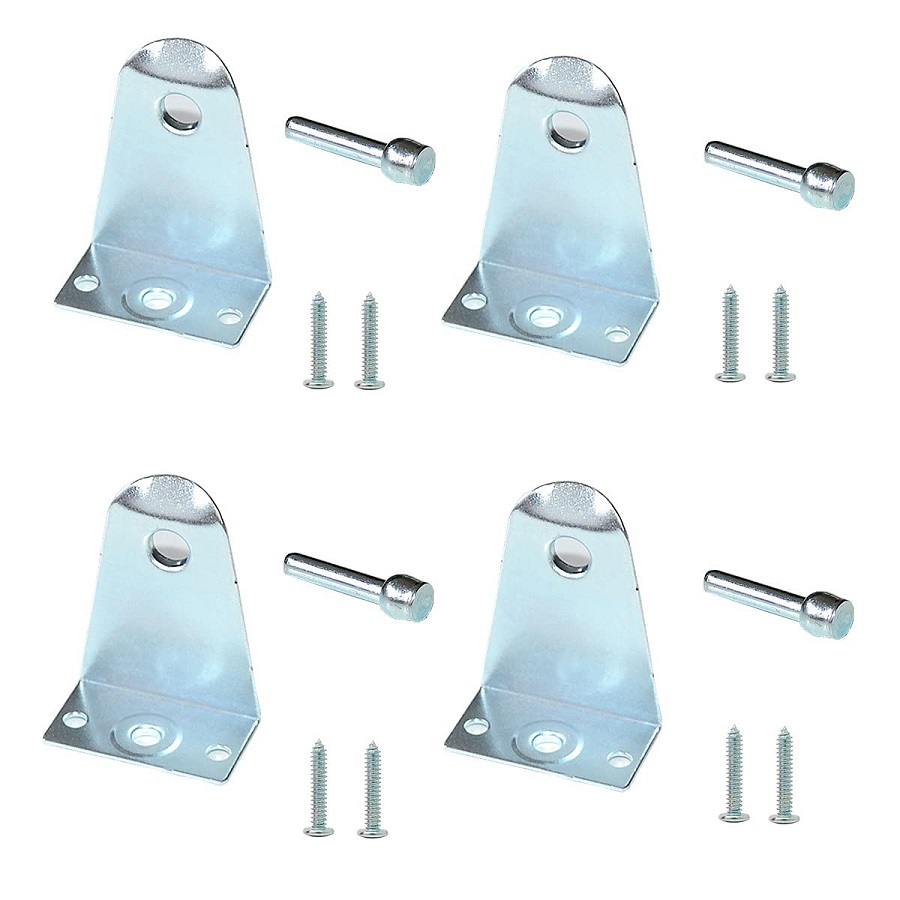
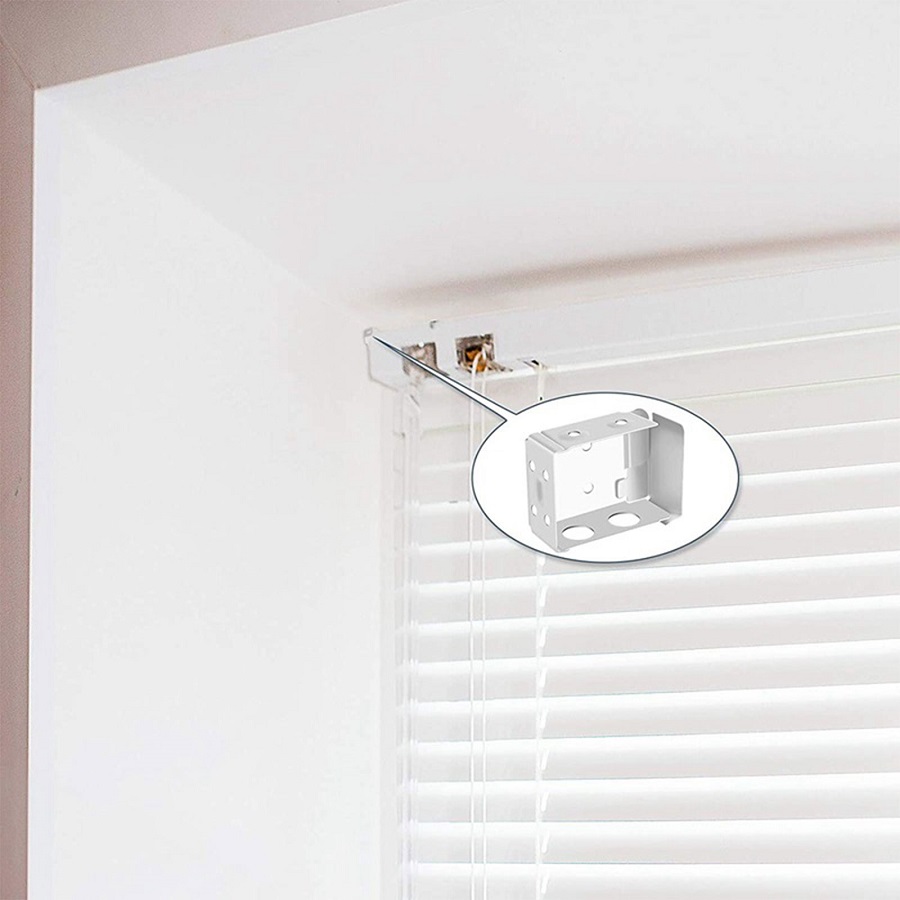
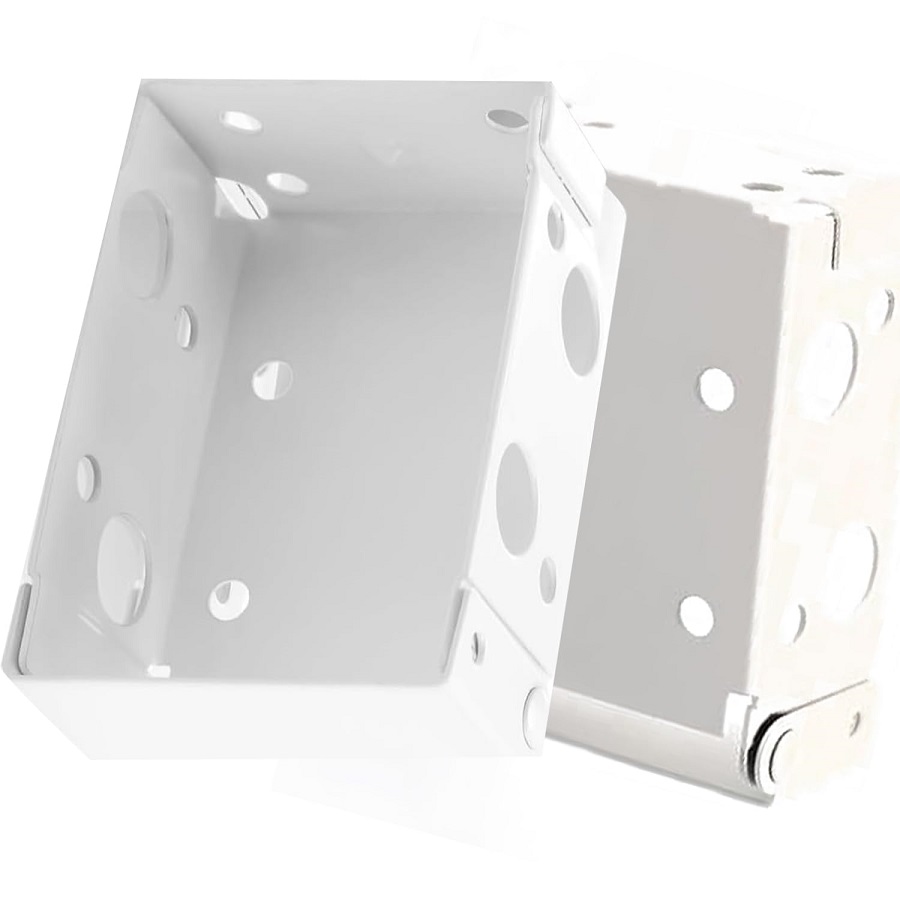
Before diving into the specifics of how to install blinds brackets, it’s critical to understand the various types available and their unique features. Blinds brackets come in several styles, each designed for different types of blinds and mounting scenarios.
Inside Mount Brackets
Inside mount brackets are perfect for a clean, built-in look. They fit within the window frame, allowing the blinds to flush against the wall. This type of bracket is ideal for windows with sufficient depth.
Outside Mount Brackets
For windows with shallow depth or obstructions, outside mount brackets are the solution. These brackets attach to the wall above the window frame or directly to the frame itself, extending the blinds out past the window nook.
Ceiling Mount Brackets
Ceiling mount brackets are designed for scenarios where wall mounting isn’t possible. They affix to the ceiling, offering a unique installation approach that can be useful in certain decorative or functional contexts.
Extension Brackets
For clearing obstacles like window cranks or deep frames, extension brackets provide additional depth. They allow the blinds to project farther from the wall, avoiding any interference with their operation.
Understanding the differences between these blinds brackets is crucial for selecting the right one for your window setup. Always consider the type of blinds you are installing and the specifics of your window area when choosing brackets. Proper selection ensures not only a straightforward installation process but also the lasting functionality and aesthetics of your window treatments.
 Tools and Materials Needed for Bracket Installation
Before you start learning how to install blinds brackets, gather the right tools and materials. Having everything on hand simplifies the process. Here’s what you’ll typically need:
- Measuring Tape: To accurately measure your window and the spacing for the brackets.
- Pencil: For marking where you’ll drill holes for the brackets.
- Drill: An electric or battery-operated drill to make holes for the screws.
- Screwdriver: A flat or Phillips head screwdriver for tightening screws.
- Screws and Wall Anchors: Suitable for the type of wall you have (drywall, concrete, etc.) and bracket type.
- Level: To ensure brackets are straight and even.
- Brackets: The specific brackets required for your blind type and mount (inside, outside, ceiling, or extension).
- Safety Goggles: To protect your eyes when drilling.
- Step Ladder: If the window is out of reach.
It’s also good to have some extras like wall anchors, in case the ones provided with the brackets aren’t strong enough, and a small hammer, for tapping in wall anchors. Having a partner can also help to hold the brackets in place as you mark or drill. Now that you have all your tools and materials, you’re ready to move on to the next stage: preparing the window area before installation.
Preparing the Window Area Before Installation
Before you start installing blinds brackets, proper preparation of the window area is key. Clean the surface where you’ll mount the brackets. Remove any dust, debris, or peeling paint with a damp cloth. Check for any discrepancies in wall texture or bumps that might affect bracket placement.
While the surface dries, inspect the window frame or wall area for damage. Look for imperfections that could hinder the installation. Fill any holes or cracks with spackle and let it dry before proceeding. If you’re replacing old blinds brackets, remove them carefully to avoid additional wall damage.
Once the area is smooth and clean, grab your measuring tape and pencil. You need to determine the correct spot for each bracket. For inside mount brackets, ensure there is enough depth in the window frame. For outside mounts, check that the area above the window is clear for bracket placement.
Lastly, gather all your tools and materials you listed earlier. Have them organized and within reach. This saves time and helps you stay focused during the installation process. Clear the work area of any clutter to ensure safety and efficiency. Now you’re set to measure and mark the bracket placement precisely.
Step-by-Step Installation Process
Now that you’ve prepared your window area and gathered all necessary tools, let’s dive into the actual installation of the blinds brackets. Following a step-by-step process ensures accuracy and safety, leading to a successful installation.
Measuring and Marking the Bracket Placement
First, measure your window to determine where to position each bracket. Use your measuring tape to find the correct spacing. With your pencil, mark where each screw will go. For inside mounts, keep marks within the frame. On outside mounts, place marks just above the frame. Make sure your marks are level; this is crucial for proper blind function.
Securing the Brackets to the Wall or Window Frame
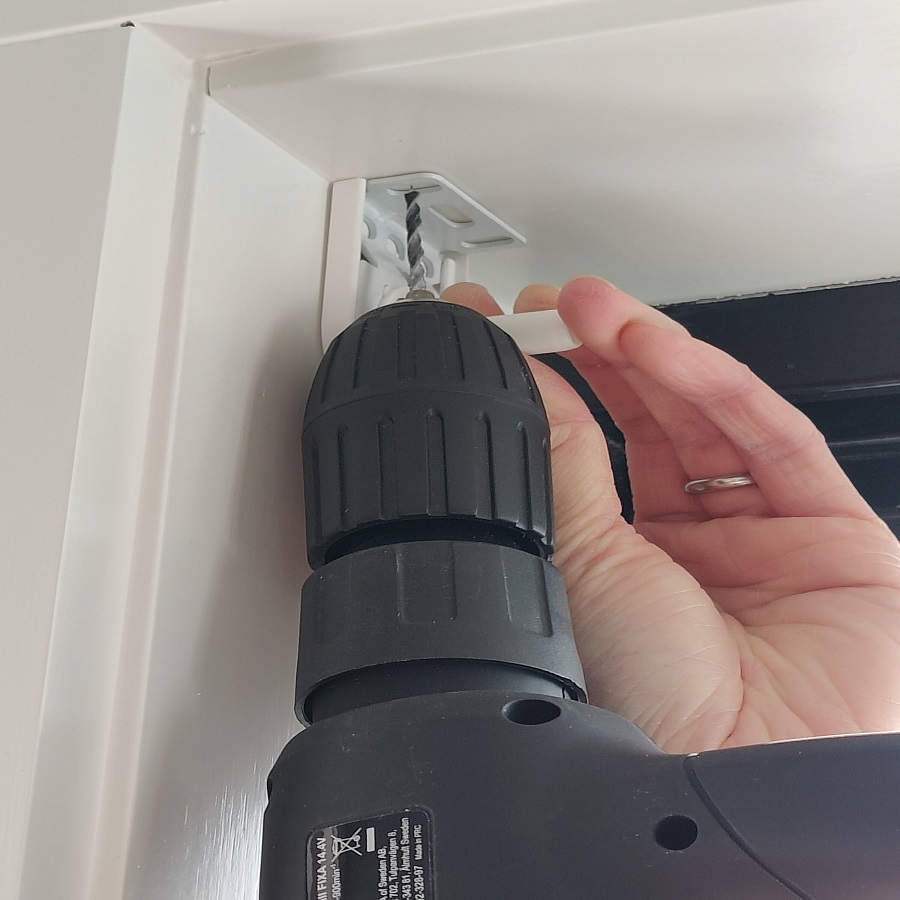
Next, drill holes at your marks. Be sure your drill bit matches the size of your screws. Insert wall anchors for extra support if necessary. Now, align the brackets with the holes. Use your screwdriver to tighten the screws into place. For a secure fit, make sure brackets are snug against the wall or frame.
Checking for Level and Making Adjustments
Once brackets are in, place your level on top to check. Make sure everything is even. If not, loosen the screws and adjust the brackets. Tighten back up after making corrections. It’s important to get this right to ensure your blinds will function well and look good.
With brackets secured and level, you’re ready to attach the blinds. This step-by-step method of measuring, marking, securing, and checking guarantees a stable and aesthetic installation of your blinds brackets. Remember to follow how to install blinds brackets with careful attention to precision at each step.
Attaching the Blinds to the Installed Brackets
After successfully installing the brackets, the next step is attaching the blinds. This stage is crucial to ensure your blinds function correctly and look great. Here are the steps to securely attach your blinds to the installed brackets:
- Align the Blinds: Start by aligning the top of the blinds with the installed brackets. Most blinds have a groove or a notch that fits into the bracket.
- Snap or Slide into Place: Depending on the type of blinds and brackets, either snap the blinds into the brackets or slide them in from the side. Make sure they are securely locked in place.
- Check for Movement: Gently tug on the blinds to ensure they are securely fastened and won’t easily come out of the brackets. They should move smoothly when pulled.
- Adjust for Alignment: Look at the blinds from different angles to check alignment. They should hang straight and even. Make any necessary adjustments to the brackets if the blinds are not level.
- Test the Functionality: Pull the blinds up and down a few times to test their functionality. This ensures that everything is working correctly and the blinds are not catching or sticking.
By following these steps on how to install blinds brackets and attach the blinds properly, you can enjoy beautiful and functional window treatments in your space.
Troubleshooting Common Installation Issues
Even with a careful, step-by-step approach, sometimes issues can arise when installing blinds brackets. Here are some common problems and how to fix them:
Brackets are not Level
If the brackets aren’t level, the blinds won’t hang straight. Use a level to check. Adjust the brackets as needed until they are even. It may take a few tries to get it perfect, but take your time.
Screws Won’t Hold
This could happen if the wall material is too soft or if the wrong sized anchors are used. If the screws aren’t gripping, try using larger or longer screws with suitable wall anchors for a firmer hold.
Brackets are Loose
Loose brackets can cause the blinds to sag or fall. Tighten the screws securely. If they still feel loose, remove them and re-drill the holes with a slightly larger bit, and use bigger anchors.
Obstructions Prevent Bracket Placement
Sometimes unforeseen obstructions can block where you want to place the brackets. Look for alternative spots to mount them or consider using extension brackets if needed.
By addressing these issues promptly, you can ensure a stable installation and the smooth operation of your blinds. Remember to follow the guidance on how to install blinds brackets, and don’t hesitate to adjust your methods as you encounter different challenges during the process.
Maintenance and Care for Blinds Brackets
Maintaining blinds brackets is key for long-lasting window treatments. Here’s how to do it:
- Regular Dusting: Wipe brackets with a dry cloth often. This prevents dust build-up.
- Check Tightness: Every few months, check screws for tightness. Tighten them if needed.
- Avoid Moisture: Keep brackets dry. Moisture can cause rust and damage.
- Inspect for Damage: Look for bends or breaks. Replace damaged brackets to avoid issues.
- Gentle Handling: When adjusting blinds, be gentle. Rough handling can loosen brackets.
- Lubricate Moving Parts: If brackets have movable parts, use a dry lubricant occasionally.
By following these steps, you ensure your blinds and brackets work well over time. Remember, good care extends the life of your window treatments.
Tips and Tricks for an Easier Installation Process
Installing blinds brackets can be straightforward with the right approach. Here are some tips and tricks to streamline the process:
- Pre-Measure Before Purchasing: Measure your window frames before buying brackets. This ensures a perfect fit.
- Use a Template: Create a paper template for bracket placement. This helps mark drill holes accurately.
- Drill Bit Selection: Use the correct size drill bit for your wall. This avoids too-large holes.
- Start with Pilot Holes: Drill small pilot holes first. Then, move on to the final size. This prevents cracks.
- Keep a Vacuum Handy: Vacuum up the dust as you drill. This keeps the workspace clean.
- Install One Bracket at a Time: Focus on one bracket, finish installing it, and then move to the next. This keeps things manageable.
- Ask for Help: A second pair of hands can hold the level and the blinds. This makes the process quicker.
- Go Slow with Screw Tightening: Tighten screws slowly to prevent stripping. This makes adjustments easier.
- Save Time with a Power Screwdriver: A power screwdriver speeds up screwing in brackets.
- Double-Check After Each Step: Take a moment to check your work after each step. This catches errors early.
By incorporating these tips on how to install blinds brackets, you can enjoy a hassle-free installation. You save time and avoid common setbacks, leading to a professional-looking finish.


