Introduction to Blinds Replacement
Replacing blinds is a refreshing update for any room. It’s a task that may seem complex but is quite doable with the right approach. This guide aims to simplify the blinds replacement process, breaking it down into manageable steps for even a beginner to follow. Whether you wish to switch to room-darkening shades, need a sturdier material, or want to adjust to a new color scheme, this guide will assist you.
Before you begin, understanding why and when to replace blinds is crucial. Over time, wear and tear can make blinds less functional and attractive. If the slats break, cords fray, or mechanisms fail, it’s time to consider a replacement. Moreover, changing decor styles might prompt an update.
In the following sections, we’ll detail each step, from choosing the right blinds for your needs to measuring, selecting, and installing your new window treatments. We’ve also included information on identifying when it’s best to repair or replace your blinds and some bonus tips on picking the perfect blinds for your space. Let’s embark on this journey to enhance the beauty and functionality of your windows.
 Step 1: Measure Your Windows for New Blinds
Before you pick out new blinds, getting the right measurements is key. This will ensure your new window treatments fit perfectly and look great. Let’s walk through the measurements step by step.
First, grab a reliable measuring tape. You’ll be measuring the width and height of your window. It’s best to measure the width at the top, middle, and bottom. Use the narrowest width to make sure the blinds won’t be too wide.
For the height, measure from the top of the window to the windowsill. Do this in three places as well and use the longest measurement. Accurate height is essential for blinds that look tailored and function well.
Decide if you’ll mount the blinds inside or outside the window frame. Inside mounts are clean and sleek, while outside mounts can make your window look larger.
If you choose an inside mount, just measure within the frame. For an outside mount, add a few inches to each side. This way, your blinds will cover not just the glass but some of the wall too.
Finally, double-check your measurements. Correct numbers now can save time and ensure you won’t have to replace blinds again too soon.
Step 2: Selecting Your New Blinds
Selecting new blinds is an exciting chance to refresh your space. The right blinds can transform a room’s look and feel. Think about what you need before you start shopping.
Choosing the Right Style
When choosing a style, consider the room’s function and your privacy needs.
- For Bedrooms: Blackout blinds are best for sleep quality. They block light completely.
- For Living Rooms: Light-filtering shades provide privacy but let in natural light.
- For Kitchens: Easy-to-clean materials are practical, like vinyl or aluminum.
- For Bathrooms: Go for moisture-resistant options like faux wood.
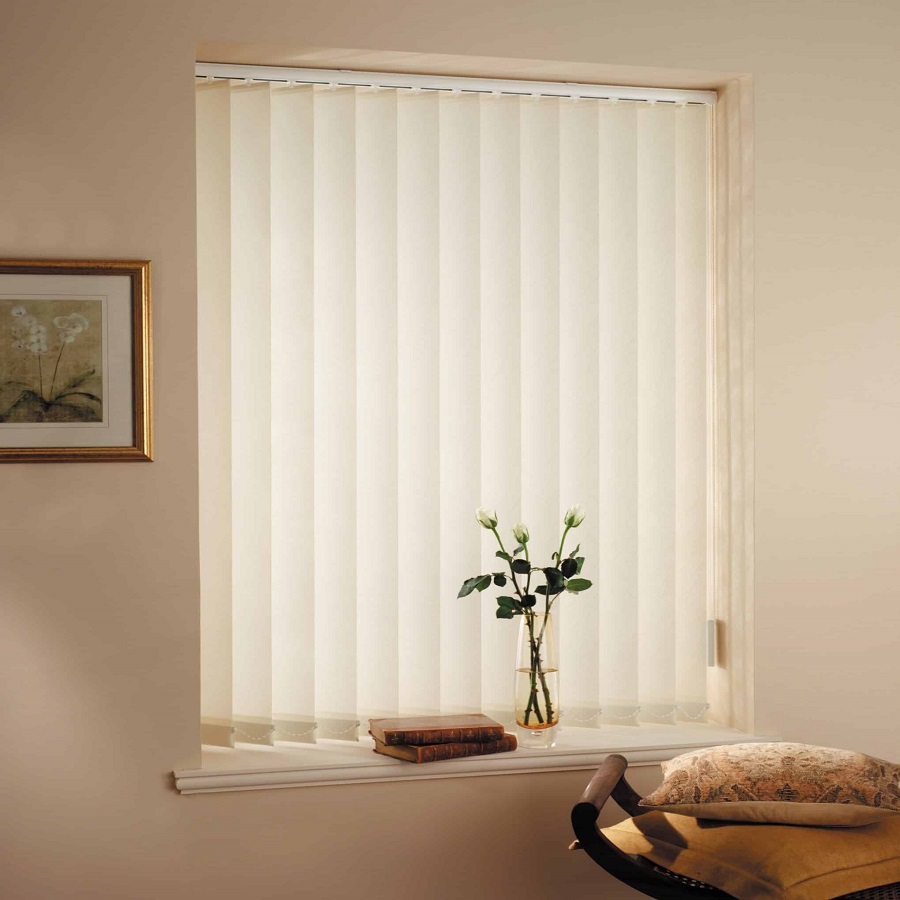
Vertical blinds suit sliding doors well, and Venetian blinds control light in office spaces.
Deciding on Materials and Color
Materials and color are key to meshing blinds with your d?cor.
- Wood or Faux Wood: These add warmth and suit traditional homes. They can be pricier.
- Aluminum or Vinyl: These are durable, affordable, and modern. Less cozy but easy to clean.
- Fabric Shades: Great for a soft look, but might need more cleaning.
Colors range from neutral whites and grays to bold reds and greens. Consider these tips:
- Match Existing D?cor: Neutrals fit anywhere, but a pop of color can liven up a room.
- Room Size: Light colors can make small rooms feel bigger.
- Mood: Dark colors add drama, while light tones create a relaxed feel.
Remember, the material affects cleaning and maintenance, so choose wisely based on your willingness to upkeep.
Step 3: Removing Old Window Coverings
Removing old window coverings is a simple but necessary step in the replacement process. Here’s a quick guide to help you gently remove your old blinds without damage.
Clear the Area
Start by clearing any furniture or obstacles near the window. This gives you space to work and prevents any accidental damage.
Lift the Blinds
Raise your old blinds to the top. This groups all the slats and exposes the brackets.
Remove Valances
If your blinds have valances, take them off first. This will give you access to the necessary hardware underneath.
Open Brackets
Most blinds have brackets at the top. Gently open these brackets with a screwdriver.
Slide Out Blinds
With brackets open, slide the blinds out. If they’re stubborn, wiggle them gently until they’re free.
Unscrew Brackets
Remove any remaining screws holding the brackets to the window frame. Keep them, just in case you need them later.
Clean the Area
With everything removed, clean the window frame. Wipe away any dust or debris for a fresh start.
It’s important to handle old blinds carefully. Rough treatment can damage your window frame. Going step by step ensures a smooth transition to your new window treatments. In the next section, we will discuss how to install your brand new blinds.
Step 4: Installing New Blinds
Once you’ve selected your new blinds and removed the old ones, it’s time for installation.
Necessary Tools for Installation
Before starting, gather your tools. Here’s what you’ll need:
- Measuring tape for accurate fitting
- Screwdriver to fix or remove screws
- Level to ensure even installation
- Drill for securing brackets
- Pencil to mark drill points
- Step ladder for reaching high areas
Check each tool before beginning to avoid delays during installation.
Installing Different Types of Blinds
Installing blinds varies by type. Here’s a brief guide:
- Venetian Blinds: Secure brackets, then click the headrail in place.
- Roller Shades: Attach brackets, then mount the shade into the brackets.
- Roman Shades: Fix the headrail and hang the fabric folds below.
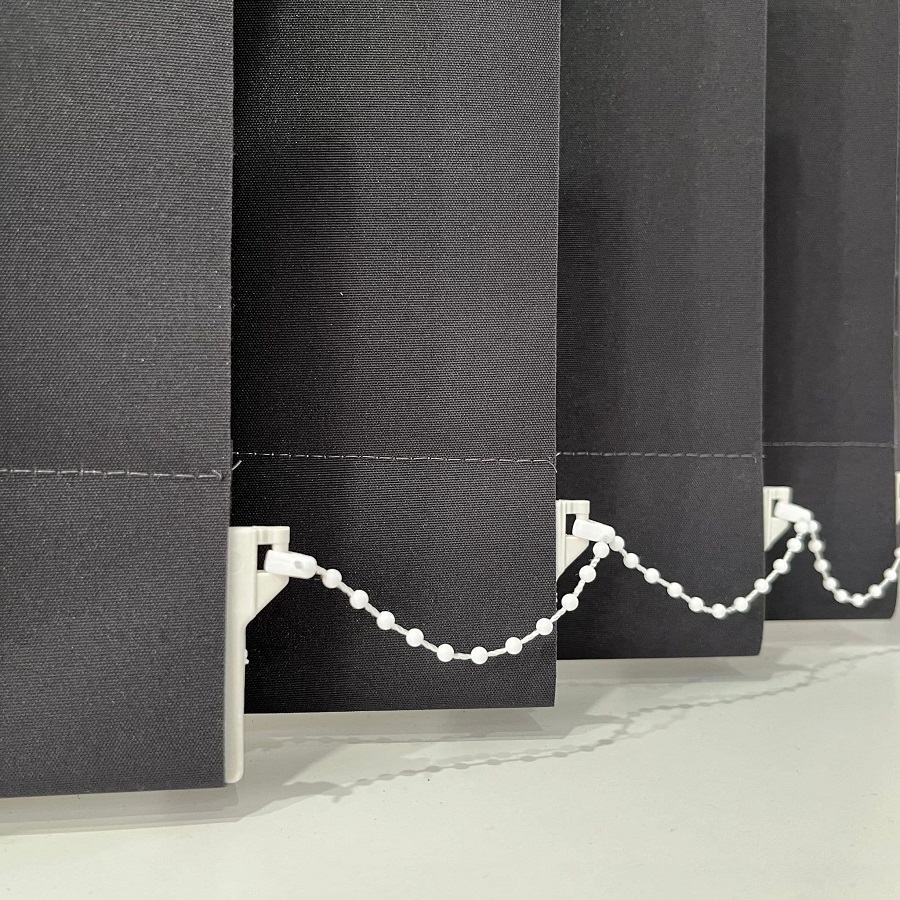
- Vertical Blinds: Install the track, then snap in the vanes.
Read the manufacturer’s instructions for specifics. Test the blinds after installation to ensure they move smoothly and lock into place.
Proper installation makes your blinds functional and aesthetically pleasing. With your new blinds installed, you can enjoy refreshed decor and improved light control. If you’re unsure about installation, consider hiring a professional to do the job.
Identifying When to Repair or Replace Blinds
Recognizing when to mend or swap your blinds is essential. In time, blinds age and show signs of wear. Look for these hints to decide your next step.
Signs That It’s Time to Replace Your Blinds
- Broken Slats: When slats crack or snap, it’s time for new blinds. Patching them up won’t do.
- Faulty Mechanisms: If blinds won’t open or tilt, their mechanisms might be done for.
- Visible Mould: Mould that won’t clean off is a sign to replace blinds for health.
- Frayed Cords: Worn cords are a risk for kids and pets. Swapping to cordless blinds is safer.
- Loose Mounts: If blinds seem shaky, check mounts. Secure them or consider a fresh set.
Knowing When to Opt for Repairs
Some issues may not need full blinds replacement. We can repair some problems.
- Minor Wear: Small issues might have quick fixes. Look into repair options.
- Slightly Bent Slats: You can often reshape or realign bent slats without full replacement.
- Stuck Cords: Sometimes, stuck cords only need new tangles straightened out.
- Loose Brackets: Tighten loose brackets with a screwdriver to rejuvenate your blinds.
Choosing between repair and replacement affects your wallet and convenience. Assess the damage and make a smart choice. New blinds renew a room, but sometimes a simple fix will suffice.
Bonus Tips: Choosing the Ideal Blinds for Your Space
Choosing the perfect blinds for your space is more than a simple selection. To create a look you’ll love, consider these tips:
Assess Your Room’s Needs
Think about what each room needs. Do you want full darkness for better sleep? Are you looking for privacy but still want natural light? Choose blinds that match the room’s purpose.
Consider the View and Sunlight
Rooms with a great view might need sheer shades. They let you enjoy outside scenery. For bright, sunbathed rooms, thicker blinds can manage the glare and heat.
Reflect on Maintenance and Cleaning
How much time are you willing to spend on upkeep? Fabric blinds might need more frequent cleaning. Easy-to-wipe materials like vinyl are lower maintenance.
Match Your Home’s Style
Your home’s design should guide your choice. Sleek, modern homes might suit metal blinds. Cozy, rustic spaces pair well with wood textures.
Try Samples Before Deciding
Order free samples if you can. Seeing the material and color in your own light is smart. It helps make a choice that you won’t regret later.
Measure Twice, Install Once
Double-check measurements before ordering. This ensures a good fit and saves time on adjustments after.
Remember, the blinds you pick will change your space’s feel. Take your time, evaluate your options, and make a choice that fits both your style and functionality needs.
Frequently Asked Questions About Replacing Blinds
When it’s time to replace blinds, several questions come up. The two most common are about installation options and selecting the right size. Here’s a straightforward look at each issue to help you in your blinds replacement journey.
DIY Installation or Professional Help?
Deciding whether to tackle blind installation yourself or call in professionals depends on several factors. Consider your DIY skills, the complexity of the blinds, and your comfort with tools. If you feel confident, installing blinds can be a satisfying DIY project. Most blinds come with a manual, and basic tools like a screwdriver and drill are usually all you need. However, if you’re not handy or the thought of using power tools is intimidating, professional help ensures your blinds are installed correctly.
Key points for DIY installation:
- Follow the instruction manual carefully.
- Use the recommended tools and safety gear.
- Take your time and double-check each step.
For professional installation:
- Research and hire a reputable service.
- Check for reviews and ask for a quote upfront.
- Ensure they offer a warranty or guarantee for their work.
Selecting the Correct Size and Fit
Choosing the right size for your blinds is crucial for both appearance and function. Measure your windows accurately; use the narrowest width and longest height. Decide on inside or outside mount; inside mounts offer a clean look, while outside mounts can make windows appear larger.
To ensure a correct fit:
- Measure in three places for both width and height.
- Note whether the window area has any obstructions.
- Consider the stack height of blinds when raised.
Remember to consider the stacking height of blinds, which is how much space they take up when fully open. Certain styles, like Roman blinds, need more clearance. Make sure you won’t block any important views or natural light when they are pulled up. With careful measuring and the right choice between DIY or professional help, you can replace blinds without much hassle. The effort can transform the look and feel of your room, making it well worth the undertaking.
Conclusion: Revamp Your Space with New Blinds
Replacing your blinds can bring a new life to any room. It’s a way to refresh your home’s look without a full remodel. With this guide, you have the steps to measure, choose, and install new window treatments with ease.
Measure your windows, pick blinds that suit your style, and install them with care. When in doubt, remember it’s okay to ask for help. Whether you choose DIY or professional installation, the end goal is to achieve a beautiful and functional living space.
By now, you should feel ready to tackle blind replacement. You know when to repair or decide it’s time to replace. You have the know-how to choose blinds that fit your needs and enhance your room’s ambiance. Remember, proper measurement is the key to a perfect fit. Don’t forget to consider safety, especially if you have kids or pets.
Enjoy your new blinds and the improved atmosphere they bring to your space. They can control light, add privacy, and complement your home’s style. Take pride in this step towards a more comfortable and attractive home environment.
Good luck on your journey to replace blinds and rejuvenate your space. It’s a simple change that can make a big difference. If you follow this guide, the process should be smooth and the results satisfying.


