Creating your own picture frame can be a fun and rewarding project. Not only does it allow you to personalize your space, but it also provides a great opportunity to showcase your favorite memories in style. In this article, we will guide you through various quick and easy tips on how to make a picture frame. Whether you are a beginner or an experienced crafter, these helpful hints will streamline the process. Let’s explore eight key topics to ensure you have a fantastic experience crafting your own picture frame.
Selecting the Right Materials for Your Picture Frame
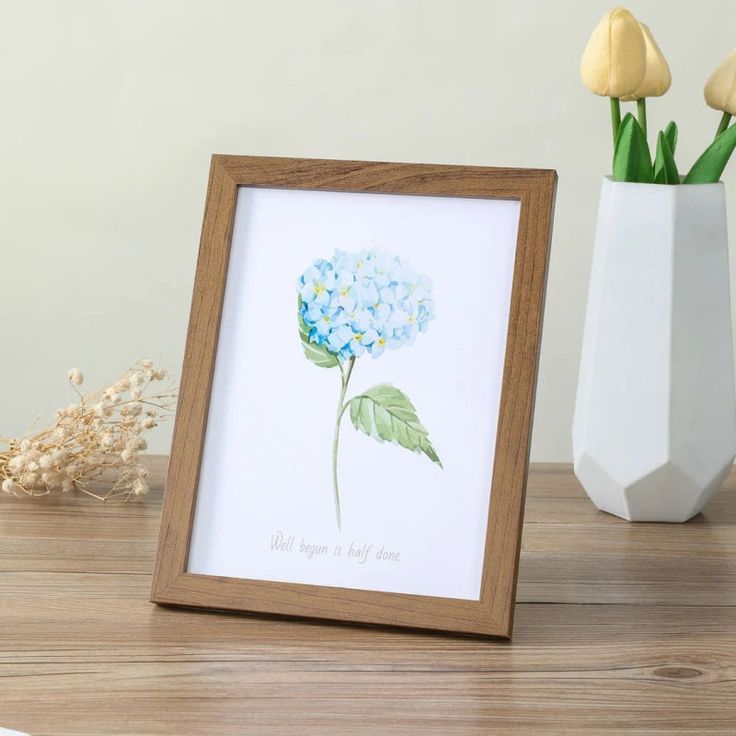
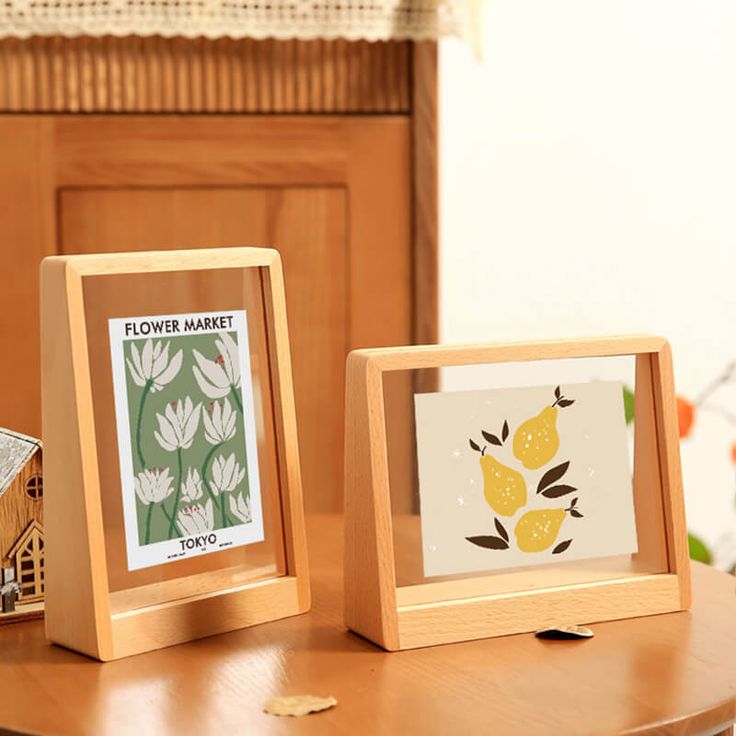
When learning how to make a picture frame, selecting the right materials is crucial for achieving the desired look and durability. There are three common materials to consider: wood, cardboard, and foam board, each with its own benefits. Wood frames are popular for their durability and elegance. They add a classic touch to any space and can last for many years.
In contrast, cardboard frames are lightweight and budget-friendly. They are easy to work with, making them ideal for beginners or for short-term displays. When using cardboard, you can cut and decorate it to fit a variety of styles. This versatility allows for creative expression without significant costs.
If you’re looking to make your project even more eco-friendly, consider using repurposed materials. Old window frames or wooden pallets can provide a unique and rustic touch to your DIY project. Each option allows you to showcase your pictures beautifully while reflecting your personal style. Therefore, when choosing your materials, think carefully about the final look and function you wish to achieve.
Tools Needed for Crafting Your Picture Frame
Having the right tools is essential for success when learning how to make a picture frame. First, gather some basic items like a ruler, pencil, cutting tool, and glue. These are fundamental for measuring, marking, and attaching the different parts of your frame. If you decide to work with wood, you will also need a saw for cutting your wood pieces to size. Clamps will be helpful to secure the joints while the glue dries.
For those choosing to make cardboard frames, scissors and a strong adhesive tape will do the job well. An Exacto knife may also be useful for obtaining precise cuts, which is crucial for a polished finish.
Do not forget about protecting yourself while crafting. Wearing goggles can shield your eyes from dust and debris when using power tools. Gloves can protect your hands from sharp edges and hot glue. By ensuring you have all the necessary tools in advance, you save time and make the crafting process smoother. This preparation will contribute to a more enjoyable and successful DIY experience.
Measuring and Cutting Your Frame
Accurate measuring and cutting are crucial steps in learning how to make a picture frame. Start by carefully measuring the dimensions of the picture you want to display. This is the foundation of your frame’s design. Use a ruler to ensure your measurements are precise. Drawing straight lines on your chosen material based on these measurements will guide your cutting.
Once you have your dimensions defined, it’s time to cut the material. If you are making a wooden frame, cut the wood pieces according to your measurements. Utilize a saw for clean and precise cuts, ensuring your pieces are uniform in size. For those using cardboard, consider using a straight edge with a utility knife, as this may yield better results for clean lines.
Take your time with this step to ensure all pieces fit together seamlessly. Rushing can lead to mistakes, which may affect the overall look of the frame. Carefully measuring and cutting will create a solid foundation for your DIY picture frame, setting you up for success in the assembly process.
Assembling Your Picture Frame
Now that your materials are cut, it’s time to assemble your picture frame. Begin by laying out all your pieces on a flat surface. This allows you to visualize the arrangement and make any necessary adjustments before gluing or taping anything together. Depending on your design, you may need to create corners or joints that fit snugly.
For wooden frames, it is best to use wood glue. Apply the glue carefully along the edges of each piece, ensuring that you cover the entire surface that will connect. Once you have applied the glue, hold each piece together. For added stability, use clamps to secure the joints as the glue sets. This helps ensure that everything aligns correctly and stays in place.
If you are working with cardboard frames, strong adhesive tape will hold the edges together effectively. As with wooden frames, it’s essential to give your structure ample time to dry. Allowing sufficient drying time ensures a sturdy and durable picture frame that can securely hold your cherished memories for years to come.
Adding a Backing to Your Frame
In the crafting process of how to make a picture frame, adding a backing is a crucial step that is often overlooked. The backing serves a vital role by supporting your picture and keeping it securely in place. A well-fitted backing ensures that your precious memories are safely displayed without risk of falling out.
You can use materials like cardboard or foam board as inexpensive backing options. These materials are easy to find and can be cut to fit your frame perfectly. Start by measuring the opening of your frame and then cut the backing to the same size. It’s essential to ensure that the backing aligns perfectly with the frame to create a polished look.
Once the backing is cut, securely attach it using glue or small finishing nails. For wooden frames, nails are often more durable, while glue can provide a clean finish for cardboard. This simple additional step fortifies your frame and enhances its stability. Moreover, it helps protect your image from dust and damage, ensuring that your memories remain beautiful and intact for years to come.
Decorating Your Picture Frame
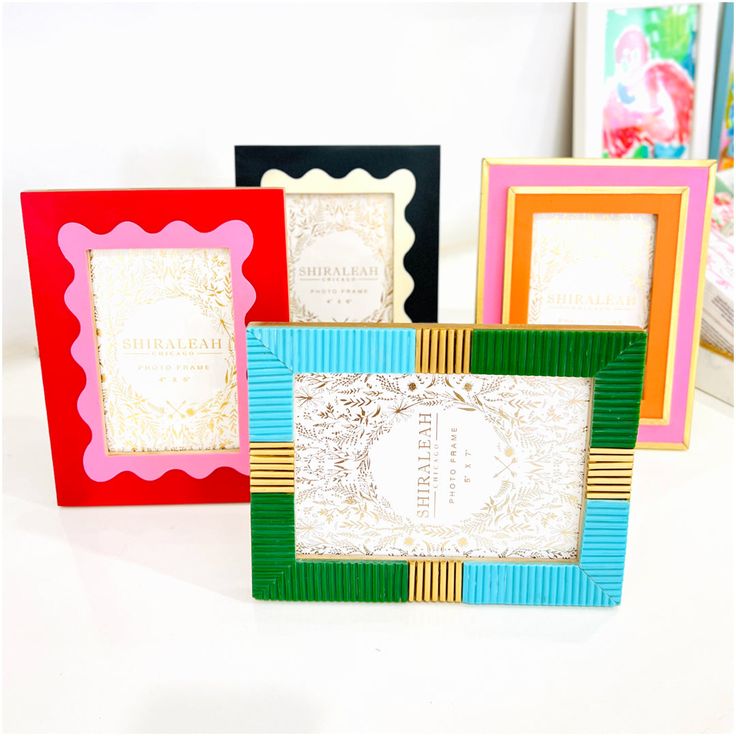
Once the structure of your picture frame is complete, it’s time to personalize it and make it uniquely yours. Decorating your homemade frame can be a fun and exciting process that allows you to express your creativity. Start by considering the colors and themes you want to use. Painting the frame with vibrant hues can instantly enhance its appearance and help it match your home decor.
Alternatively, you might explore using washi tape, fabric, or decoupage techniques to create intricate designs. Washi tape is particularly versatile, coming in various patterns and colors, making it easy to customize your frame. For a more textured approach, fabric can add warmth and dimension.
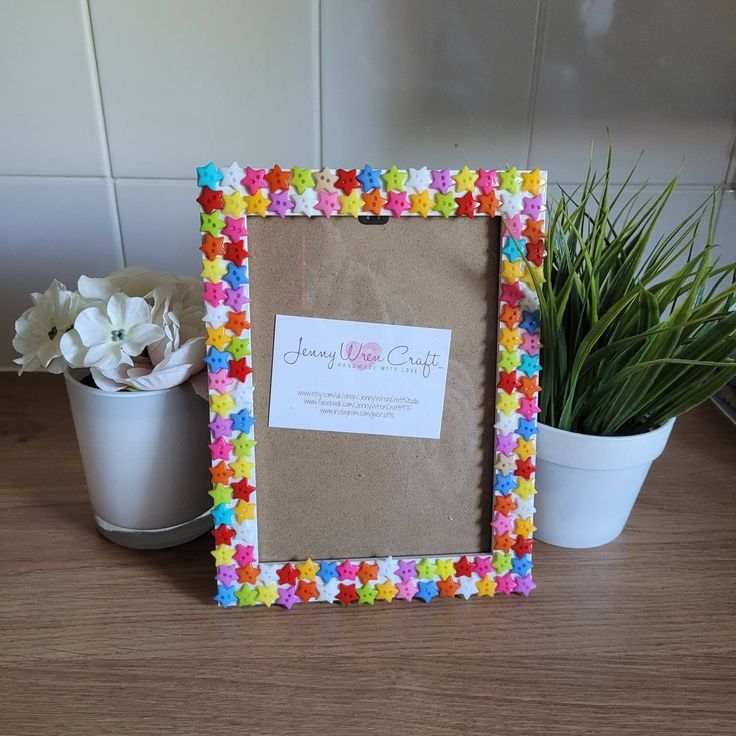
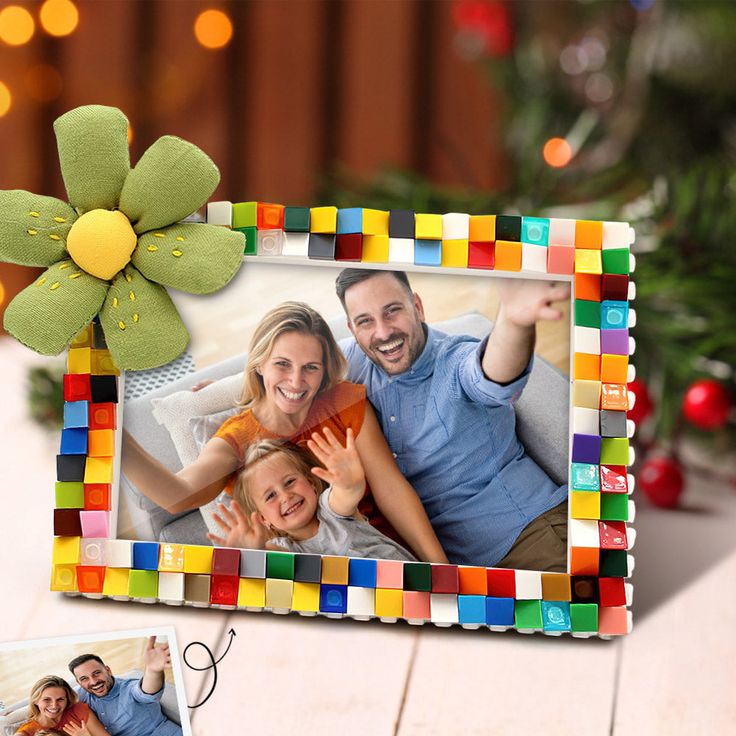
You can also enhance your frame by adding embellishments such as artificial flowers, buttons, or beads. These decorative elements can give your frame a unique flair and a three-dimensional aspect. This step of personalization is what makes your frame truly special. Ultimately, it reflects your personal style and taste, turning a simple frame into a cherished piece of art that beautifully showcases your memories.
Displaying Your Finished Picture Frame
Having successfully learned how to make a picture frame, it’s finally time to display your masterpiece. Consider where you would like to display your frame in your home. Hanging it on a wall, placing it on a mantel, or showcasing it on a shelf are great options. Ensure it complements your existing decor while highlighting the wonderful memory it contains. Strike a balance between aesthetics and function; make sure your frame is placed in an area where it can be appreciated by family and visitors alike.
Gifting Your Handmade Picture Frame
One of the best parts of creating your own masterpiece is its potential as a heartfelt gift. Personalized picture frames make thoughtful gifts for friends and family members on various occasions. When you know how to make a picture frame, it opens up a world of customization options, allowing you to tailor each frame to fit the recipient’s unique style and preferences.
Consider adding a memorable photo to the frame before gifting it. This small gesture can make the gift extra special by showcasing a cherished moment you both share. Whether it’s a family gathering, a fun vacation, or a special event, the photo adds sentimental value.
Additionally, don’t forget to wrap your frame beautifully. Using decorative paper, ribbons, or gift bags adds an additional heartfelt touch that enhances the presentation. A well-wrapped gift not only draws attention but also shows the recipient that you care about them. Ultimately, gifting a handmade picture frame allows you to express your creativity while strengthening your relationships with personal touches that will be treasured for years to come.
Conclusion
In conclusion, learning how to make a picture frame can be an enjoyable and fulfilling project. By selecting the right materials, tools, and following these easy steps, you can create unique frames to showcase your cherished memories. From choosing the perfect embellishments to gifting your handmade creations, the possibilities are endless. Embrace your creativity and bring your vision to life, resulting in beautiful picture frames that will be treasured for years to come. Let your crafting adventure commence, and enjoy every step of making your picture frame!