Introduction
How to hang blinds – Hanging window blinds can dramatically enhance the aesthetic of your home while providing you with privacy and light control. Whether you’re a DIY novice or looking to perfect your installation skills, this step-by-step guide will ensure you get the job done efficiently and effectively.
Tools and Materials Needed
Before you start, gather the following tools and materials:
Tools:
- Measuring tape
- Level
- Screwdriver (electric or manual)
- Drill
- Ladder (if necessary)
- Pencil or marker
Materials:
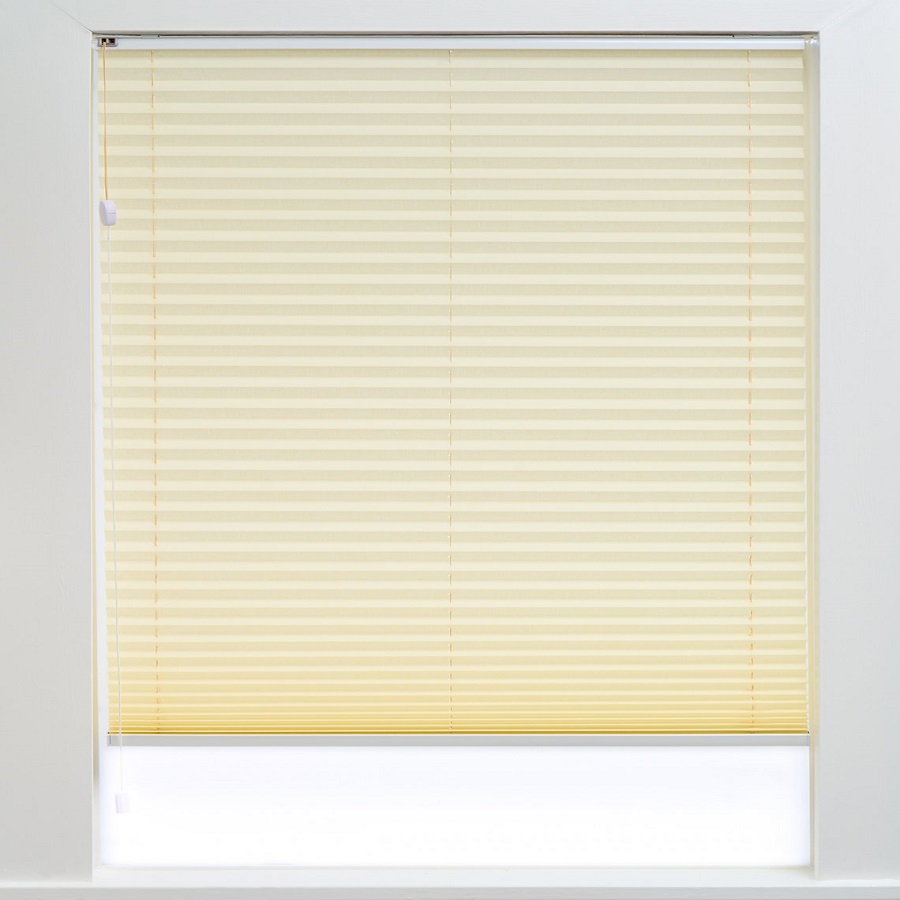
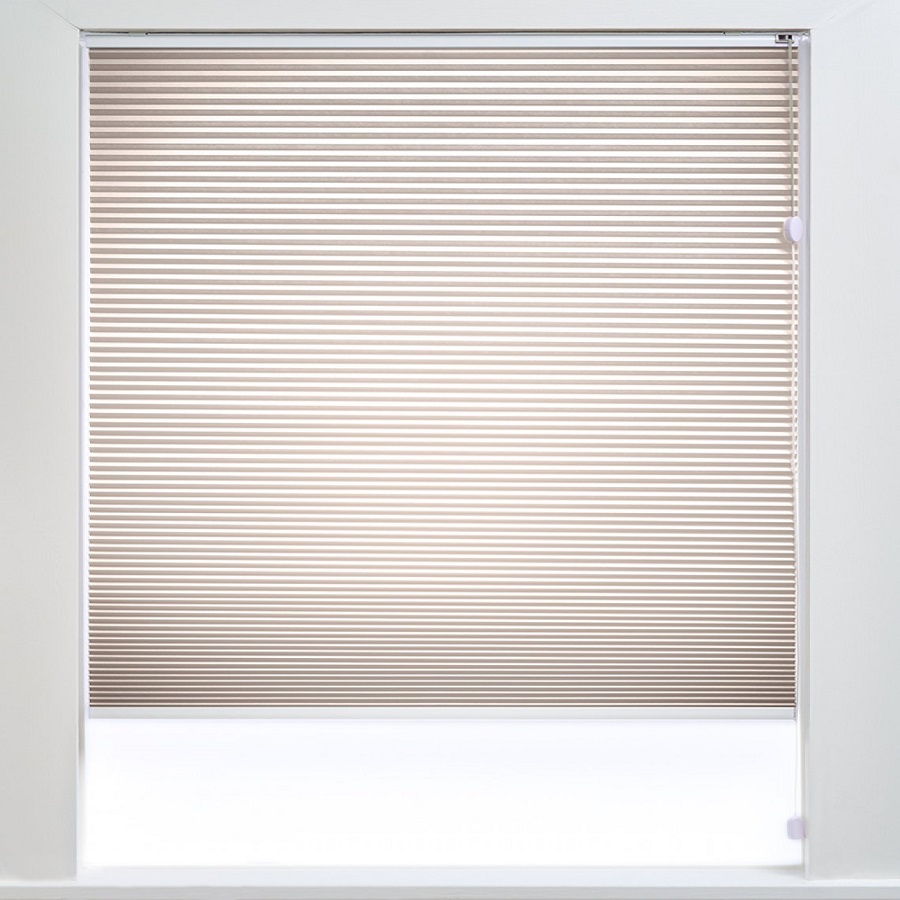
- Window blinds (make sure to choose the correct size for your window)
- Mounting brackets (usually included with the blinds)
- Screws (usually included with the blinds)
- Wall anchors (if mounting on drywall)
- Safety goggles (always a good idea when drilling)
Measure Your Window
Accurate measurements are crucial for a perfect fit. Follow these steps:
- Width: Measure the width of the window opening at the top, middle, and bottom. Use the narrowest measurement as your width.
- Height: Measure from the top of the window opening to where you’d like the blinds to hang. If you want blinds that extend to the floor, measure down to the desired length.
- Consider Mounting Style: Decide if you’ll be mounting the blinds inside the window frame (inside mount) or outside (outside mount). Inside mounts offer a cleaner look, while outside mounts can make windows appear larger.
Prepare the Brackets
A. Gather Brackets
Check the packaging for the mounting brackets. Ensure you have two for horizontal blinds and three for vertical blinds.
B. Mark the Bracket Locations
- For inside mounts, position the brackets inside the window frame as instructed in the manufacturer’s guidelines—typically about 1 inch from each side of the window frame and high enough to fit the headrail.
- For outside mounts, position the brackets above the window frame, keeping in mind where the top of the blinds will be in relation to the window. Draw a light pencil mark where the brackets will go.
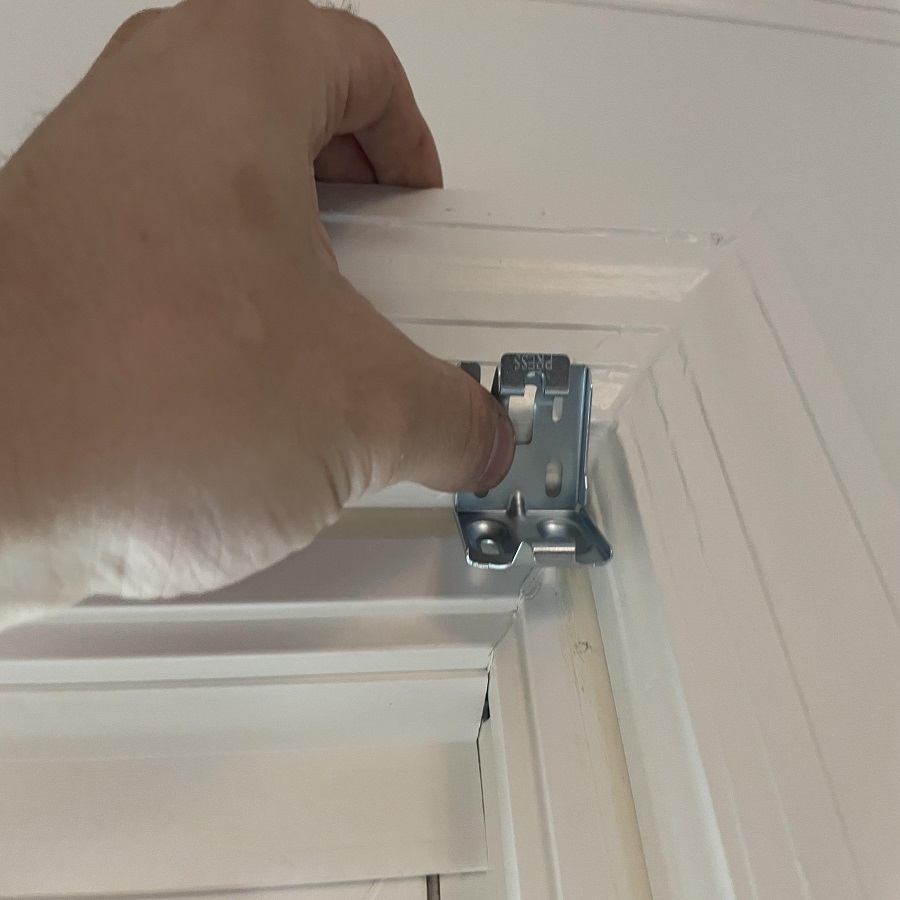
Install the Mounting Brackets
- Level the Brackets: Use your level tool to ensure that your brackets are straight. Adjust as needed, marking the final positions.
- Pre-Drill Holes: If you’re installing on drywall, use a drill to create pilot holes. If you’re drilling into wood, you may skip this step, but it can still make the process easier. Install wall anchors if needed.
- Screw in the Brackets: Align the brackets with the marks and fasten them securely using screws. Make sure they’re firmly attached to support the weight of the blinds.
Attach the Blinds
Now it’s time to hang the actual blinds:
- Insert the Headrail: Depending on the type of blinds, you may need to insert the headrail into the brackets at an angle and then push the top into place. Make sure everything clicks in or is seated correctly.
- Secure the Blinds: For most blinds, there is a locking mechanism that secures the headrail once it’s in place. Check the manufacturer’s instructions to ensure proper installation.
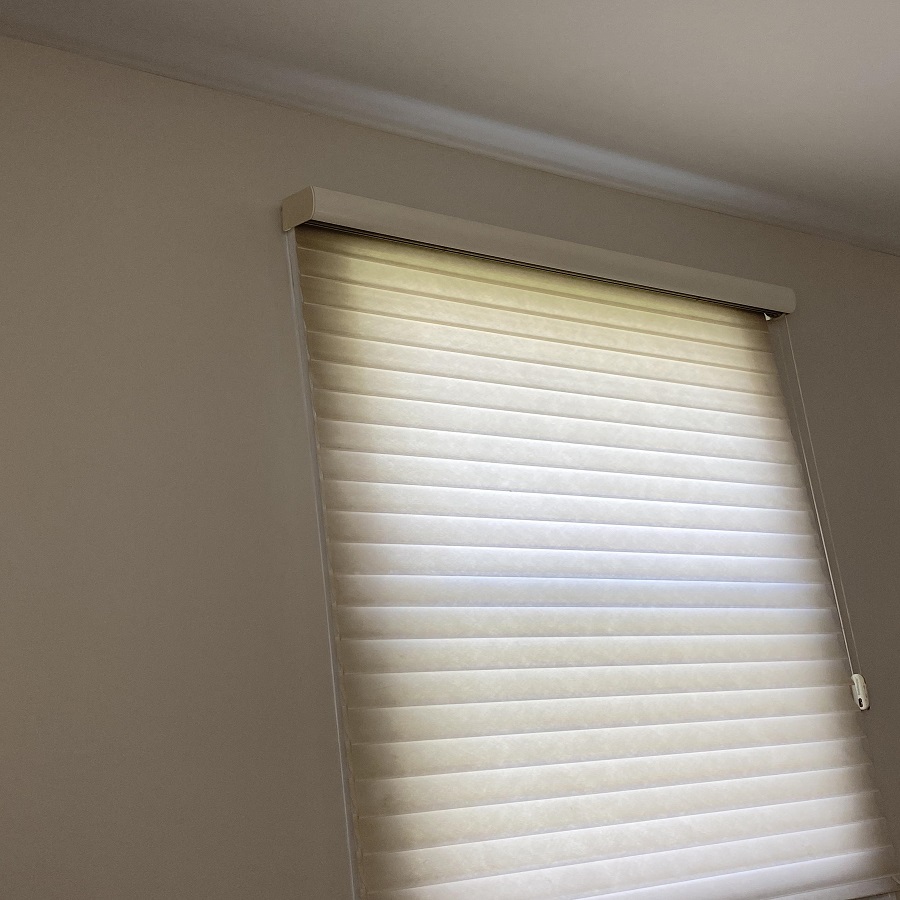
Install the Valance (if applicable)
If your blinds come with a valance:
- Attach the Clips: Position any clips onto the headrail according to the instructions.
- Slide in the Valance: Ensure that the valance fits over the headrail, concealing the mechanics of the blinds for a polished look.
Test the Blinds
Before considering the job complete, make sure to do the following:
- Open and Close: Gently pull the cord or use the tilt wand to open and close the blinds. They should operate smoothly without sticking.
- Adjust the Length: For corded blinds, if the length needs adjustment, follow the manufacturer’s instructions to either raise or lower the height of the blinds.
Final Adjustments
- Check Alignment: Step back and ensure the blinds look straight and aligned with your window.
- Clean Up: Remove any tools and debris from the area where you were working.
Additional Tips
- Choose the Right Blinds: Make sure you consider the material and style of blinds based on the room’s function. For instance, moisture-resistant blinds are essential for bathrooms.
- Read the Instructions: Every model can differ slightly, so always refer to the manufacturer’s installation guide for specific adjustments and features.
- Safety First: If you’re using a ladder, ensure it’s placed on a flat surface and that someone is nearby to help steady you as needed.
Basic Tools Required for Blinds Installation
Measuring Tape
- Usage: Accurate measurements are crucial for blinds installation. A measuring tape helps you determine the width and height of your windows, ensuring your blinds fit perfectly.
- Tip: Always measure from multiple points (top, middle, bottom) to account for any irregularities in your window frame.
Level
- Usage: A level ensures that your blinds are installed straight. Without it, you risk having crooked blinds, which can be aesthetically displeasing and can affect the functionality of the blinds.
- Tip: A laser level can be especially helpful for larger spans and provide more accuracy.
Drill/Driver
- Usage: Whether you’re installing brackets or securing various components, a power drill or screwdriver is essential. It speeds up the process and makes it easier to secure screws.
- Tip: If you’re drilling into masonry, make sure to use a hammer drill and the appropriate masonry bits.
Screwdriver
- Usage: While a drill is preferable for speed, a good set of screwdrivers (both flat and Phillips head) is required for more delicate adjustments or if the screws are particularly tight.
- Tip: Magnetic screwdrivers can help hold screws in place, especially when working in tight spaces.
Stud Finder
- Usage: For heavier blinds, it’s vital to find the studs in your wall for secure installation. A stud finder helps locate the solid areas behind drywall, ensuring your brackets have the support they need.
- Tip: If your blinds are lightweight, you might still want to secure them into studs to prevent bowing over time.
Hammer
- Usage: A hammer is helpful for tap-in anchors or when adjustments are necessary without power tools.
- Tip: A rubber mallet is useful if you need to tap things into place without damaging them.
Pencil/Marker
- Usage: Marking spots for drilling and alignment is essential. Use a pencil to make light, removable marks on the wall.
- Tip: A fine-tipped marker can be useful for darker surfaces.
Optional Tools That Can Enhance Your Installation
Utility Knife
- Usage: For cutting the material of roller blinds or trimming excess fabric from certain styles of shades, a sharp utility knife is invaluable.
- Tip: Always use a straight edge or ruler to guide your cuts for maximum precision.
Ladder
- Usage: For high windows or ceilings, a sturdy ladder is essential for safe access.
- Tip: Always ensure your ladder is placed on a flat surface to avoid accidents.
Clamps
- Usage: Holding the blinds in place as you’re making adjustments can be challenging. Clamps can secure the blinds for easy installation without requiring an extra set of hands.
- Tip: Use non-marring clamps to avoid damaging the blinds.
Safety Glasses
- Usage: Protecting your eyes while drilling or cutting is essential. Always wear protective eyewear to prevent injuries.
- Tip: Make sure your safety glasses fit comfortably and provide adequate protection.
Step Stool
- Usage: For shorter reach applications, a step stool can be more convenient than a ladder, especially in smaller spaces.
- Tip: Choose a sturdy step stool with non-slip steps for safety.
Caulk Gun
- Usage: If you’re sealing gaps where your blinds meet the wall or window frame for energy efficiency, a caulk gun can be helpful.
- Tip: Use paintable caulk if you plan to paint over it for a seamless finish.
Preparation and Installation Steps
Once you have your tools ready, the next step is preparing for installation:
Read Instructions
- Before starting, always read the manufacturer’s installation guide. Different types of blinds may have unique requirements.
Gather Your Materials
- Ensure you have all necessary materials, including the blinds and their components—brackets, screws, cords, etc.
Measure Again
- Double-check all of your measurements to avoid errors before cutting or drilling.
Install Brackets
- Following the manufacturer’s instructions, install the brackets securely. Ensure they are level.
Hang the Blinds
- Once the brackets are in place, carefully hang the blinds and adjust as necessary.
Test the Operation
- After installing, test the blinds to ensure they open and close smoothly. Make any adjustments as needed.
Conclusion
Now that you’ve successfully hung your window blinds, you can enjoy the benefits they provide: privacy, light control, and aesthetic appeal. With a little bit of time and patience, you’ve transformed your windows and made your space feel more complete. Happy decorating!