Introduction
How to remove blinds with hidden brackets – Removing blinds with hidden brackets can seem daunting, but it’s a straightforward process with the right tools and steps. Whether you’re replacing old blinds or simply giving your windows a thorough cleaning, understanding how to remove these blinds without causing damage is essential. This guide will provide an easy follow-along process to help you comfortably tackle this task.
Different blinds come with various styles of hidden brackets that secure them to your window frames. From roller blinds to cellular shades, each requires a specific approach to removal. Knowing your blind type and the associated bracket system is the first step. Following this, our step-by-step instructions will guide you through each type.
Before we dive into the procedures, let’s highlight the importance of safety. Careful handling and a methodical approach ensure you, your walls, and your blinds remain intact. We’ll also cover how to dispose of old blinds responsibly and prepare your window area for new installations or fresh paint.
Ready to get started on removing those blinds? Let’s go through the process together, type by type, to make your task as effortless as possible.
Types of Blinds with Hidden Brackets
Understanding the different types of blinds with hidden brackets is crucial for proper removal. Each type has a unique bracket system. Here we’ll outline the common ones.
Roller Blinds
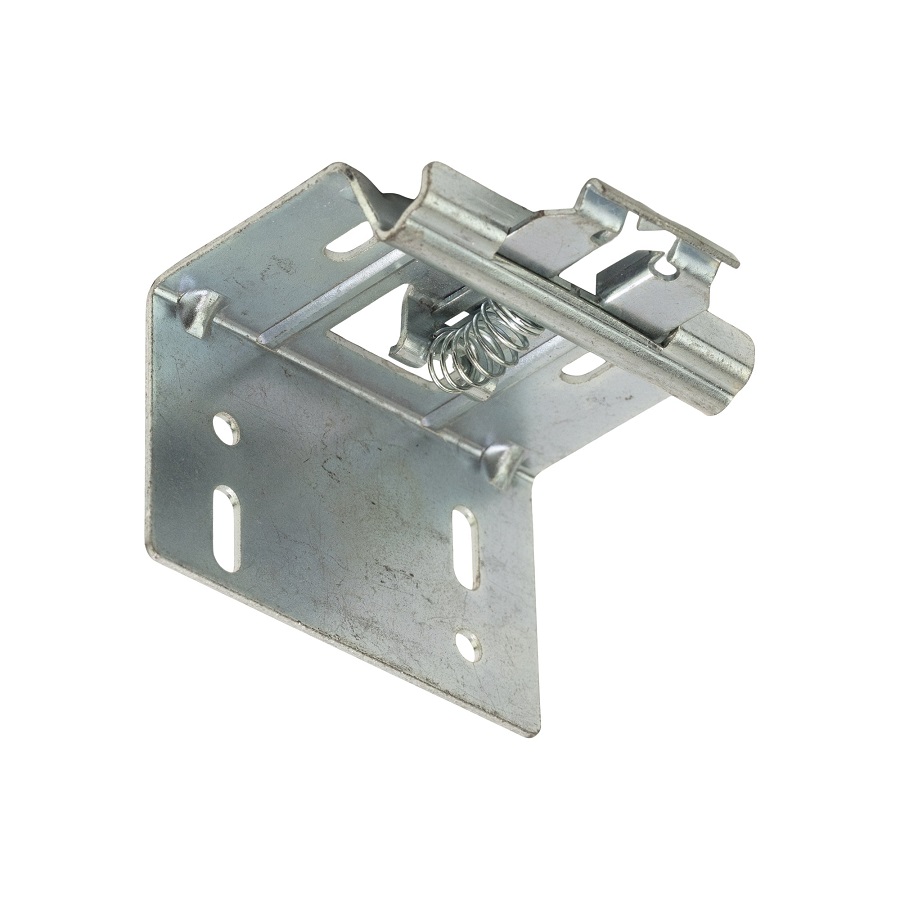
Roller blinds often come with brackets that clip into the headrail. Inspect the top of the blind. Look for clips or mechanisms that keep the blind secure.
Venetian Blinds
Venetian blinds feature horizontal slats. Their brackets may have a spring mechanism or a lever. It’s usually located at the headrail’s ends.
Vertical Blinds
Vertical blinds hang from a headrail with clips or tabs. They slide across a track. Brackets are often at the top, inside the headrail.
Roman Blinds
Roman blinds fold neatly when raised. They use a system of cords and rings. Hidden brackets attach at the headrail’s back.
Cellular/Honeycomb Shades
These shades are known for their energy efficiency. They have a headrail and hidden brackets similar to roller blinds, but may also include a compression system.
Step-by-Step Process for Removing Each Type of Blind
Removing different types of blinds requires tailored approaches. Below, we offer concise, step-by-step guidance for each blind type with hidden brackets.
How to Remove Roller Blinds
Find the brackets at the roller blind’s ends. Press the release mechanism on the brackets. Gently pull the blind out from the clips. Slide the blinds off the brackets.
How to Remove Venetian Blinds
Lift the Venetian blinds to the top. Release the bracket switches usually located on the ends. Slide the headrail outwards from the brackets.
How to Remove Vertical Blinds
Rotate the vanes or slats to expose the top rail. Locate the tabs or clips on the rail. Gently push to release the blinds from the headrail. Pull the blinds down from the clips.
How to Remove Roman Blinds
Raise the Roman blinds all the way up. Locate clips or snaps at the back of the headrail. Detach the blinds from these fasteners. Gently pull the headrail away from the window.
How to Remove Cellular/Honeycomb Shades
Push the shades up to compress them fully. Identify the brackets inside the top of the headrail. Compress or release any mechanisms that hold the shades. Carefully remove shades from the brackets.
Safety Precautions and Tips for Removal
When removing blinds with hidden brackets, safety should be your top concern. Follow these tips to prevent damage or injury:
- Always use a sturdy ladder or step-stool for hard-to-reach areas. Ensure it’s placed on an even surface.
- Wear protective gloves to avoid scrapes or cuts from sharp blind edges and brackets.
- Have the right tools handy: a flathead screwdriver, a Phillips head screwdriver, and a drill, if necessary.
- Work slowly and carefully. Rushing increases the chance of both injury and damage.
- Have a helper if blinds are too wide or cumbersome, especially when handling vertical blinds.
- Remember to support the blinds when releasing them from the brackets to prevent them from falling.
- Keep track of all hardware as you remove brackets and blinds. Store them in a labeled container.
- Cover the floor or furniture beneath your workspace to catch any falling debris or parts.
- Dispose of old blinds responsibly. Consider recycling if possible, or contact your local waste management for disposal guidelines.
- After removal, examine the window area for any damage. Repair as needed before installing new blinds.
Following these precautions and tips will lead to a smooth and successful removal of your window blinds without incident.
 Disposing and Recycling Old Blinds
Once you’ve successfully removed your blinds, the next step is to dispose of them responsibly. Different materials require different disposal methods. Below are tips on how to properly get rid of various types of old blinds.
How to Dispose of Roller Blinds
Recycling is possible for many roller blinds parts. Separate the fabric from the metal components. Metals can often go to scrap recycling. Roll up the fabric neatly and dispose of it with general waste.
How to Dispose of Venetian Blinds
Venetian blinds usually contain metal that can be recycled. Remove all cords and recycle the metal slats. Dispose of any plastic parts with general household waste.
How to Dispose of Vertical Blinds
Like Venetian blinds, vertical ones often have recyclable parts. Detach the panes and bundle them for disposal. The headrail, if metal, can go for scrap recycling.
How to Dispose of Roman Blinds
Roman blinds often combine fabric and wood or metal. Detach the fabric for general waste and recycle the wood or metal parts if possible. Check local guidelines.
How to Dispose of Cellular/Honeycomb Shades
Most cellular shades are made of fabric and plastic. You can often recycle the fabric as textile waste. The plastic components may need to go in your general waste.
Recycling facilities and rules vary by location. Check with your local recycling center for specific guidelines. Always aim to reduce waste by recycling when you can.
Preparing the Window Area Post-removal
Patching Holes and Repainting
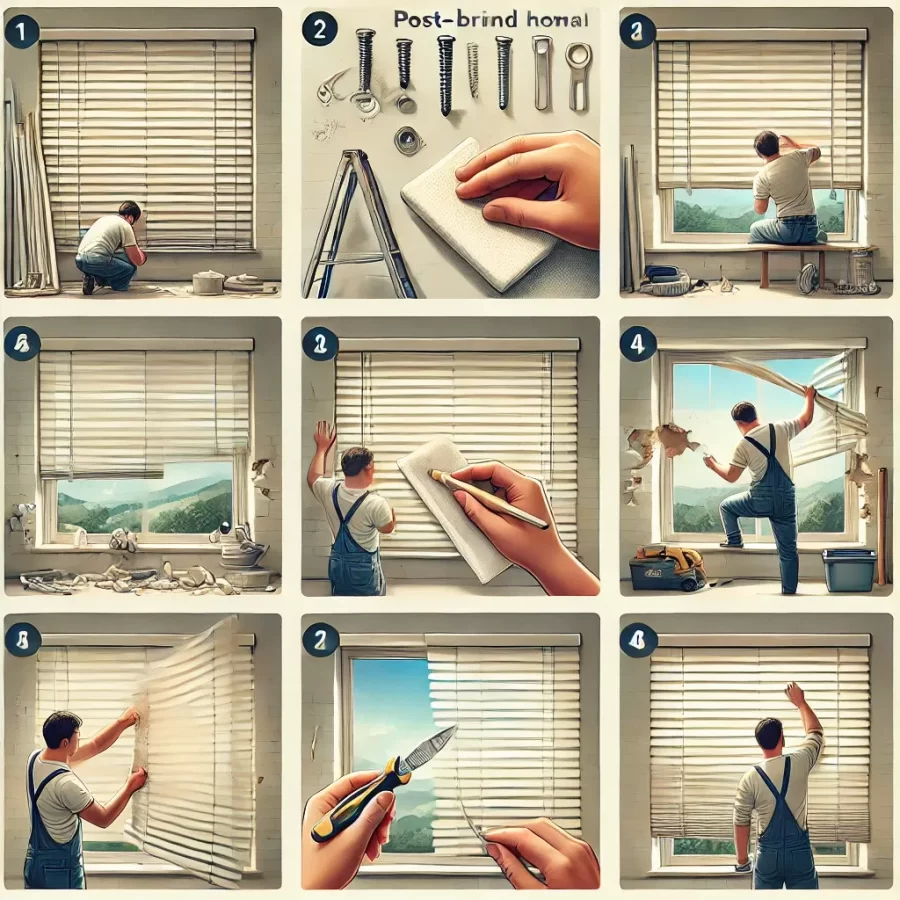
Once you remove your blinds, patching any holes left behind is next. Start by clearing out the plugs or anchors from the holes. Use a simple tool like a screwdriver to do this. Fill the holes with spackle, smoothing it flat with a putty knife. After the spackle dries, sand the area lightly to blend it with the wall. Lastly, pick a matching paint color and repaint the patched spots for a clean finish.
Cleaning and Prepping for New Blinds
Clean your window space before hanging new blinds. Dust the area and wipe with a damp cloth to remove dirt. If you find any sticky spots, a bit of window cleaner can help. Ensure the cleaning solution doesn’t harm your wall’s paint or finish. Allow the area to dry completely. Check for any loose screws or hardware and tighten them. Now your window area is ready for a new set of blinds.
Installation of New Blinds
Once you’ve removed the old blinds, it’s time to install the new ones. This task can be exciting, as it often changes the look and feel of your room. Here is a step-by-step guide that will help ensure a smooth installation of your new window treatments.
Gather Your Materials and Tools
Before beginning, make sure you have all the necessary materials and tools. These may include:
- The new blinds
- A screwdriver or drill
- Screws and brackets
- A level
- A pencil for marking
- A tape measure
- A ladder, if needed
Measure Your Window
Always measure your window before starting. This ensures your blinds will fit perfectly. Measure the width and the height of the window frame where the blinds will hang.
Mark the Bracket Locations
Using your pencil, mark where the brackets will go on the wall or window frame. Make sure these marks are level. This step is crucial for the proper operation of the blinds.
Attach the Brackets
Secure the brackets to the wall or window frame using your drill or screwdriver and screws. Follow the blinds’ instructions for the correct placement.
Install the Headrail
Once your brackets are in place, snap the headrail of the blinds into the brackets. Make sure it’s secure and level.
Attach the Valance
If your blinds came with a valance, attach it to the headrail. This usually clips on and gives a finished look.
Test the Blinds
Pull down on the blinds to make sure they extend and retract smoothly. If not, check to ensure everything is installed correctly and make adjustments as necessary.
Clean Up
Give the window area a final wipe to remove any dust from installation. Now you can enjoy your new blinds and the transformed space.
Following a clear process, you can install new blinds easily and safely. With your new blinds in place, your room will have a fresh and updated appearance. Enjoy the new ambiance and the satisfaction of a job well done.
 Conclusion
Successfully removing blinds with hidden brackets is a task you can do confidently with a step-by-step guide. By identifying the type of blinds and brackets you have and following the appropriate removal process, you can ensure a damage-free experience. Remember to take safety precautions, such as wearing gloves and using the right tools, for a smooth process.
Disposing of old blinds thoughtfully is crucial too. Separate the recyclable components and consult local guidelines for proper disposal. After the removal, patch any holes and repaint the area for a fresh look, ensuring your window space is in perfect condition for new blinds.
Installing new blinds can rejuvenate your room’s ambiance. Gather all materials, measure accurately, install brackets, hang the headrail, and test your blinds. With the old blinds removed and new ones installed, enjoy the updated feel of your living space.
Thank you for following this guide on how to remove blinds with hidden brackets. Here’s to a successful update of your window treatments!
