Introduction
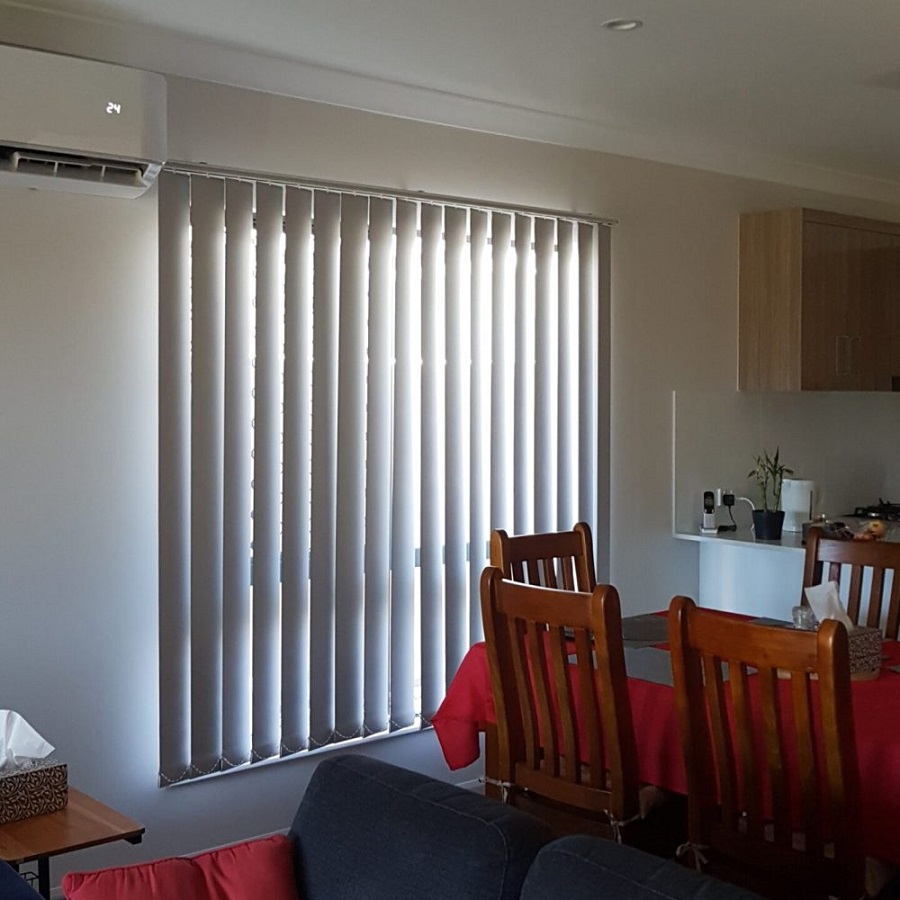
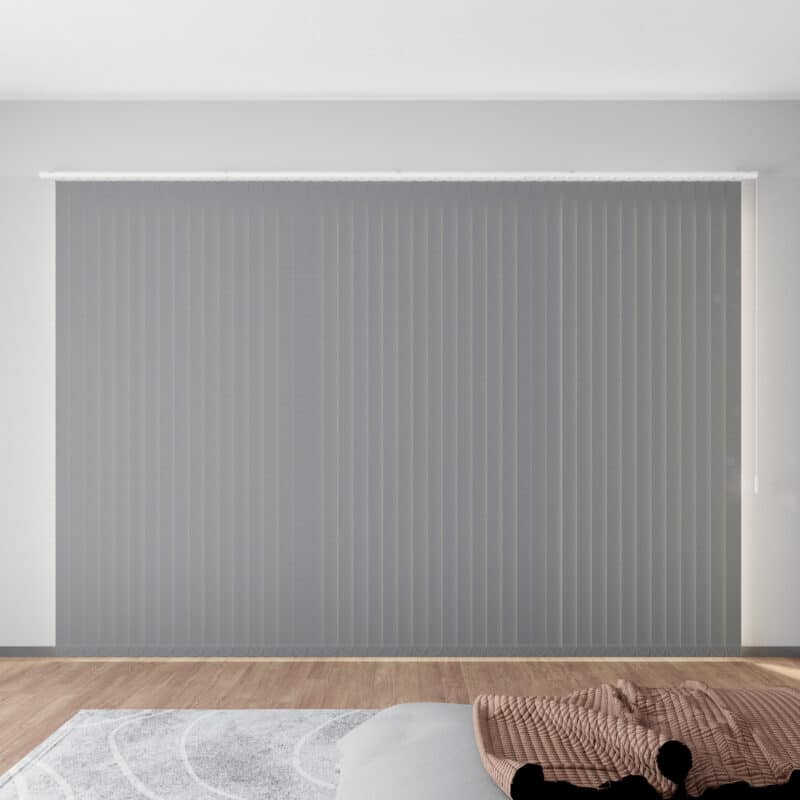
Vertical blinds installation are a stylish and practical choice for covering large windows or sliding glass doors. Not only do they offer excellent light control and privacy, but they also add an elegant, contemporary touch to any room. If you’re considering tackling this home improvement project on your own, this step-by-step guide will lead you through the process of installing vertical blinds, ensuring a seamless transformation of your space.
Materials and Tools You’ll Need
Before you begin, gather all necessary materials and tools. Having everything on hand will streamline the installation process.
Materials:
- Vertical blinds kit (includes vertical slats, headrail, valance, and mounting brackets)
- Mounting hardware (usually included in the kit)
- Screws or anchors (if required)
Tools:
- Measuring tape
- Pencil
- Level
- Power drill or screwdriver
- Step ladder
- Scissors (if adjustments to the slats are necessary)
Measure Your Window
Accurate measurements are essential for ensuring your vertical blinds fit correctly. Here’s how to measure:
- Width Measurement:
- Measure the width of your window or door frame at the top, middle, and bottom.
- Use the widest measurement for the best coverage.
- Height Measurement:
- For inside mounts, measure the height from the top of the window frame to the sill (or the desired length, typically to the floor).
- For outside mounts, add a few inches above and to the sides of the window for better light coverage and aesthetic appeal.
Choose Mounting Type
Decide whether you want to install your blinds inside the window frame or outside.
- Inside Mount: Offers a clean look and minimal depth. Requires precise measurements.
- Outside Mount: Provides more coverage and creates the illusion of larger windows.
Prepare the Area
Before you start the installation, ensure that the area around your window is clear. Remove any old window treatments and clean the window frame. If working with an outside mount, place a protective covering on the window sill to avoid scratches.
Mark the Bracket Locations
Using a level and a pencil, mark the locations for your top mounting brackets. Here’s how:
- For an inside mount, place the bracket flush against the top of the window frame.
- For an outside mount, install the brackets on your marked line.
- Ensure the marks are evenly spaced and level for a professional appearance.
Install the Brackets
Using your power drill or screwdriver, install the mounting brackets at the marked locations. If you’re installing into drywall, make sure to use anchors for sturdiness.
- Position the bracket over your mark.
- Drive the screws tightly to secure the bracket. Check alignment again with a level.
Hang the Headrail
Once the brackets are securely in place, it’s time to attach the headrail:
- Depending on the design, the headrail may slide into the brackets or clip in place.
- Follow the manufacturer’s instructions that come with your vertical blinds kit.
Attach the Vertical Slats
The vertical blinds will come with slats that need to be attached to the headrail. Here’s how:
- Begin with the first slat and attach it to the carrier mechanism on the headrail. Most slats will have a clipped-in mechanism.
- Continue attaching each slat, spacing them evenly according to the manufacturer’s guidelines.
- Ensure all slats are aligned properly and hang straight.
Install the Valance
The valance is the decorative piece that covers the headrail and completes your vertical blinds look:
- Depending on your kit, the valance may clip on, slide in, or adhere with adhesive.
- Follow the specific instructions for attaching the valance to your headrail.
Test Your Blinds
Once everything is installed, test the function of the vertical blinds:
- Pull the chain or wand to open and close the blinds, ensuring they operate smoothly.
- Test the individual slats, making sure they tilt correctly for light control.
Final Adjustments and Clean-Up
Check for any adjustments needed after the initial testing:
- If slats are uneven, adjust them to sit straight.
- Clean up any dust or debris from the installation area and properly dispose of all packaging materials.

Why Choose Vertical Blinds?
Vertical blinds are a popular window treatment option for several reasons:
- Versatility: They come in various materials, colors, and patterns, allowing you to match them with your decor.
- Light Control: Vertical blinds provide excellent light control, letting you adjust the angle to diffuse sunlight while maintaining privacy.
- Space-Saving: They are particularly suitable for large windows and sliding doors.
- Easy Maintenance: Most vertical blinds can be easily cleaned with a damp cloth or vacuumed.
Tools You Will Need
To install vertical blinds, you will need the following tools:
- Measuring Tape: For accurate measurements of your window or door frame.
- Level: To ensure that the mounting brackets are straight.
- Drill: For making holes in the wall or window frame to install the mounting brackets.
- Screwdriver: To secure the screws in place.
- Pencil or Marker: For marking measurements and drill points.
- Stud Finder: To locate wall studs, ensuring secure mounting.
- Ladder: If you’re installing blinds in high windows.
- Safety Glasses: To protect your eyes while drilling.
- Utility Knife: In case you need to trim the blinds or the headrail.
Measuring Your Windows
Proper measurements are critical for the successful installation of vertical blinds. Here’s how to measure:
Measure Width
- Inside Mount: Measure the width of the window opening in three places: at the top, middle, and bottom. Use the smallest measurement to ensure the blinds fit properly.
- Outside Mount: Measure the total width you want the blinds to cover, taking into account any space you want on each side of the window.
Measure Height
- Inside Mount: Measure the height of the window opening in three places as well: left, center, and right. Again, use the smallest measurement.
- Outside Mount: Decide how much above the window you want to mount the blinds. Add at least 3-4 inches to the actual height of the window to allow for adequate coverage.
Write down your measurements and check them twice to avoid mistakes.
Selecting the Right Blinds
Once you have your measurements, it’s time to select the vertical blinds. Consider the following:
- Material: Common options include vinyl, fabric, and aluminum. Vinyl is durable and easy to clean, while fabric offers a softer aesthetic.
- Color/Pattern: Choose colors or patterns that complement your home decor.
- Size: Ensure that the blinds come in sizes that match your measurements.
Installation Techniques
Now that you have your tools, measurements, and blinds ready, let’s get into the installation techniques.
Mark the Placement of the Brackets
- For inside mounts, position the brackets at the top of the window frame. For outside mounts, hold the brackets at the desired height and width, ensuring you have covered the entire window.
- Use a level to ensure that the brackets are straight.
- Use a pencil or marker to make small marks where you’ll drill.
Install the Brackets
- Drill Holes: If you’re mounting to drywall, ensure you locate wall studs, or use wall anchors if necessary.
- Secure Brackets: Align the brackets with the marks you made and secure them using screws, either a handheld screwdriver or a power drill, depending on your preference.
Attach the Headrail
- Insert the headrail into the brackets. Depending on the design, you may need to push or slide it into place.
- Make sure the headrail is flush against the mounting brackets and is secure.
Hang the Vertical Slats
- Take the vertical slats and locate the clips or hooks on the headrail.
- Attach each vertical slat to its respective hook in the headrail, ensuring they are evenly spaced and aligned vertically.
- Depending on the design, you may need to snap or secure the slats in place.
Test the Operation
Once all the slats are hung, test the vertical blinds by pulling them open and closed. Ensure that they glide smoothly and that you can adjust the angle of the slats for light control.
Best Practices
- Double-Check Measurements: Before purchasing or cutting the blinds, make sure to double-check all measurements.
- Clean Your Workspace: Ensuring a tidy workspace reduces the possibility of accidents and makes the installation process smoother.
- Read Instructions: Always read the manufacturer’s instructions specific to your vertical blinds model, as there may be additional steps or considerations.
- Seek Help for Large Projects: If installing blinds in large spaces or high windows, consider asking a friend for assistance to make the process safer and quicker.
- Maintenance: Once installed, regularly dust or clean your blinds to keep them looking fresh and new. Most vertical blinds can be wiped down with a damp cloth.

Conclusion
Installing vertical blinds may seem like a daunting task, but with the right tools, preparation, and a little patience, you can transform your space in no time. Not only will you enjoy the new look and enhanced functionality these blinds provide, but you’ll also take pride in completing a DIY project that improves the comfort and aesthetics of your home. Feel free to personalize your blinds with curtains or valances for an even more customized free-standing feature. Enjoy your beautifully dressed windows!
