Introduction to Blind Removal
Removing blinds from windows may seem trickier than it actually is. Regardless of why you are taking them off — maybe they are outdated or damaged, or you are preparing for a renovation — knowing the right steps can make the process smooth and stress-free. This introduction will guide you through the essential know-how and tips that ensure a successful removal of various types of blinds like Venetian, roller, and Roman blinds. Each type has its own specific method, but generally, the removal process involves assessing the blind type, preparing the necessary tools, and carefully detaching the blinds from their brackets. Let’s dive into the preparation stage, where we gather all tools necessary for a hassle-free blind removal.
 Necessary Tools for Taking Down Blinds
Ensuring you have the right tools on hand is critical for efficient blind removal. This section will outline the essential tools needed to take off blinds of various types.
Tools Specific to Blind Types
- A flat-head screwdriver is often necessary to pry open brackets for most blinds.
- A Philips head screwdriver or drill bit is helpful for unscrewing brackets from walls or window frames.
- For reaching high-mounted blinds, a stable ladder is required.
- Safety goggles and dust masks provide protection against airborne particles.
General Tools for Blind Removal
It’s worth noting that certain tools are universally necessary, regardless of the blind type you are dealing with:
- Measuring tape might be needed to measure for correct placement of new blinds.
- Pliers can come in handy if you need to pull or twist small parts.
- A level ensures your new blinds will be straight and balanced.
By gathering these tools before you begin, you will streamline the process of dismantling blinds. Each of these tools serves a distinct purpose in either removing the blinds or preparing for the installation of new window treatments. Keep the tools close at hand, and refer back to this list to ensure you’re fully prepared for the task ahead.
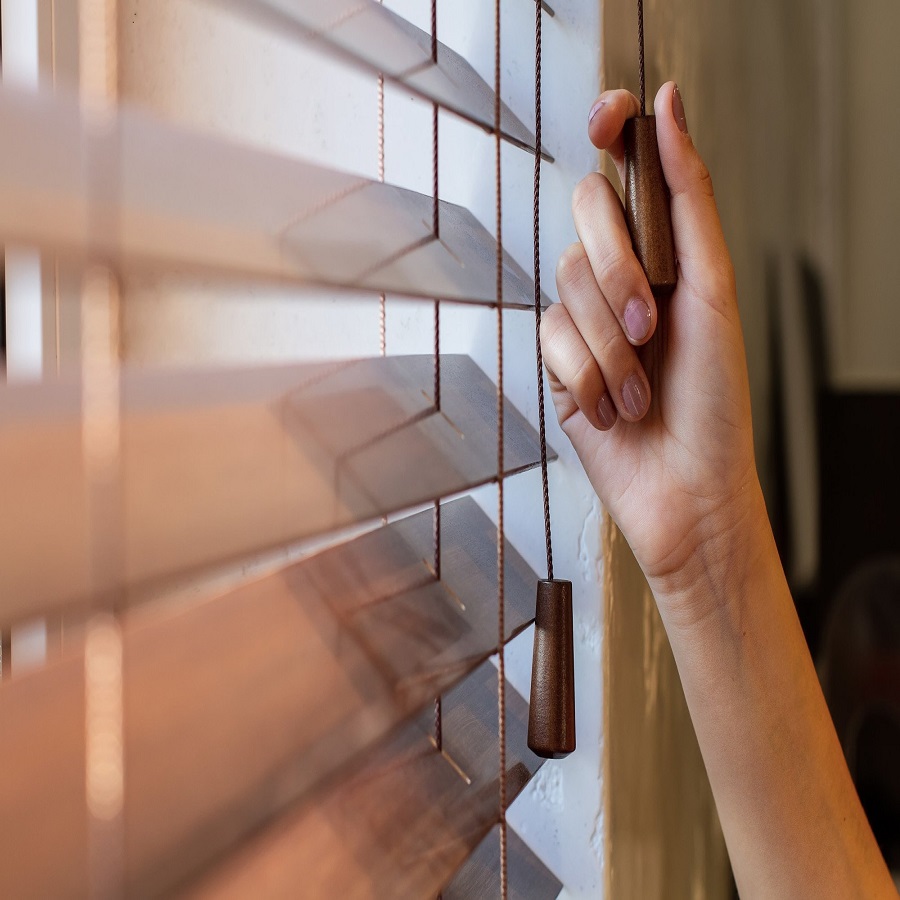
Step-by-Step Instructions for Removing Venetian Blinds
Venetian blinds are a common window treatment with a simple removal process. Here’s how to do it:
- Remove the Valance: Start by taking off the valance, if one is present.
- Adjust the Slats: Tilt the slats horizontally to make them easier to handle.
- Raise the Blinds: Pull the blinds up until they cluster at the top.
- Loosen the Headrail: Push on one end of the headrail to free it from its bracket.
- Detachment:
- Roll the headrail away from the bracket.
- Repeat on the other side.
- Unscrew Brackets:
- Use a Philips head screwdriver to remove the brackets.
- Clean-Up: Set blinds aside and clear the area.
Remember, patience is key when removing Venetian blinds to avoid damage. With these steps, you’ll have your blinds down in no time
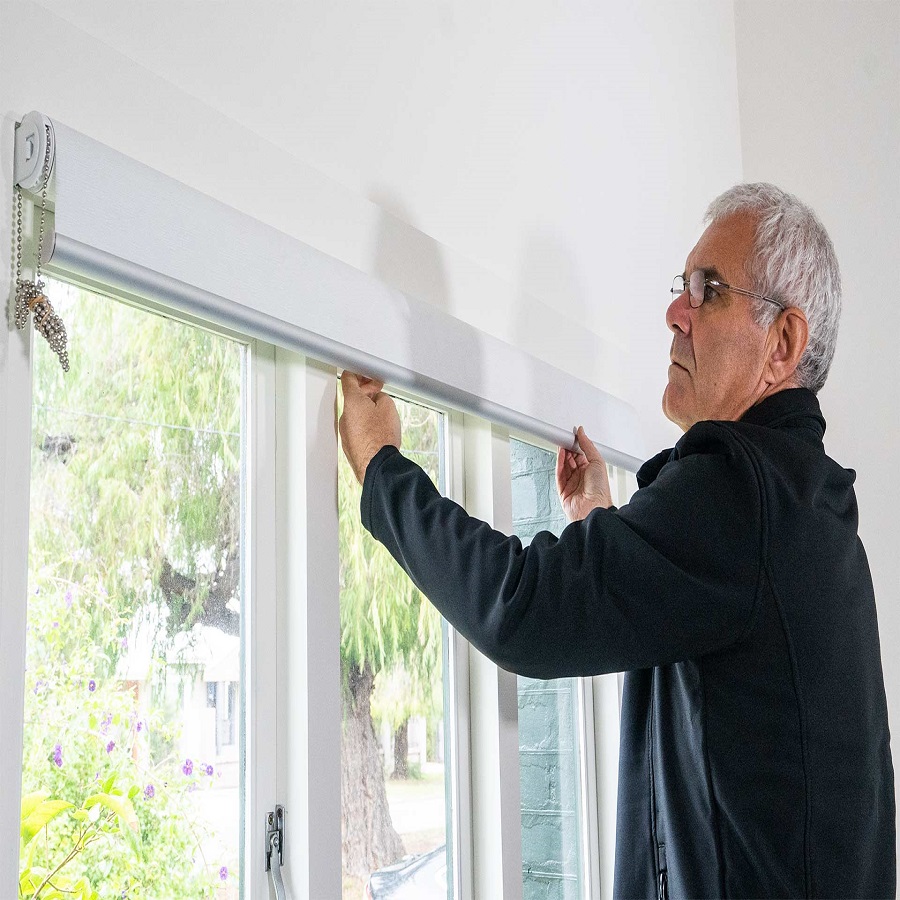
Guide on Dismantling Roller Blinds
Roller blinds offer a sleek and minimalistic design, perfect for modern interiors. Here’s a simple guide to taking them down without any hassle.
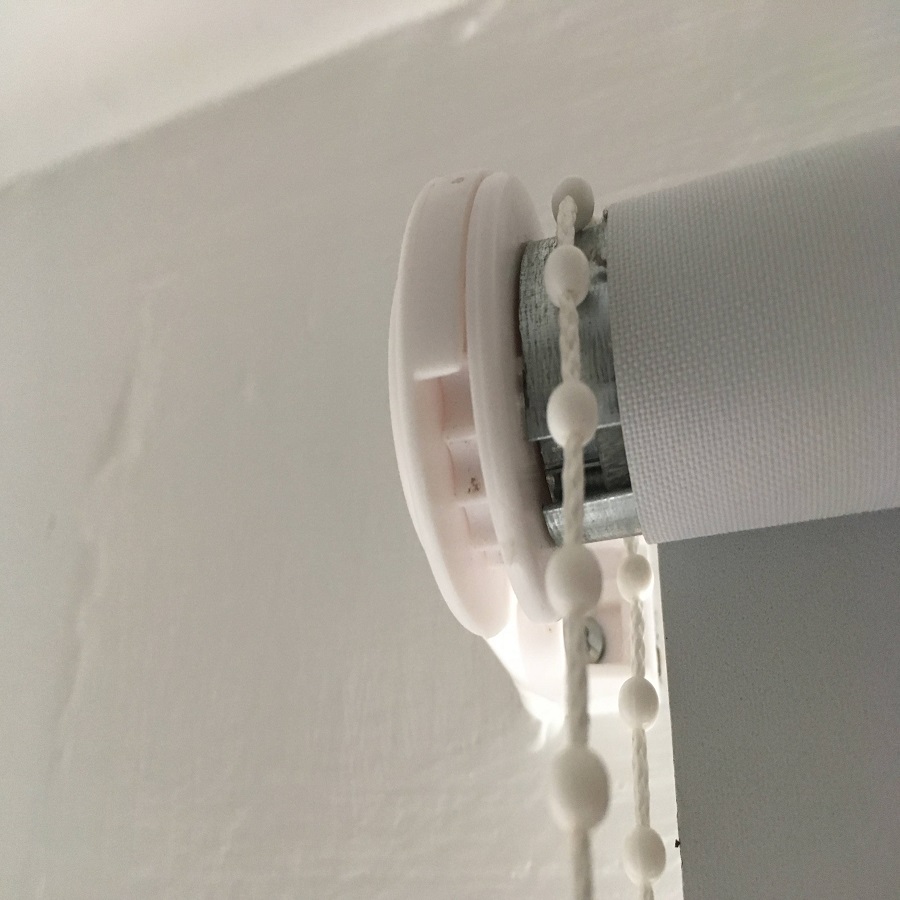
- Locate the Bracket: Find the side chain and bracket on the blind.
- Unscrew the Bracket: Use a Philips head screwdriver to remove the small bracket.
- Release the Pin: Use a flathead screwdriver to leverage the pin out of the tube.
- Lift Off Headrail: Once the pin is out, gently lift the blind away from the brackets.
- Remove Remaining Bracket: Unscrew the opposite bracket to free the blind completely.
After these steps, your roller blinds should be free from the window, and you can proceed with your new window treatments.
Process for Taking Down Roman Blinds
Removing Roman blinds is simple and can be done in a few steps. These blinds are known for their elegant pleats and add a stylish touch to any room. Let’s walk through the process of taking them down.
- Detach the Fabric: Gently pull the top of the fabric away from the headrail. The fabric is usually attached with velcro.
- Find the Levers: Locate the levers at the top of the headrail, against the ceiling or window frame.
- Release Headrail: Using a screwdriver, or your fingers, pull the levers to free the headrail.
- Lift Down Headrail: Carefully bring the headrail down from the window frame.
- Unscrew Brackets: Use a Philips head screwdriver to remove any remaining brackets.
Once you complete these steps, your Roman blinds will be detached. Now, you are ready to either clean, repair, or replace them with new window treatments.
How to Remove Vertical Blinds
Removing vertical blinds might seem complicated, but it’s quite straightforward. These blinds are perfect for privacy and light control. Here are the steps to take them out easily:
- Open and Rotate Slats: Begin by opening the slats to let in light. Then rotate them to gain better access to the top.
- Detach Vane Clips: Start unhooking the vanes from the clips at the top.
- Locate Spring Brackets: Behind the headrail, find the metal brackets.
- Use Flat-Head Screwdriver: Insert it between the headrail and brackets, then twist to release.
- Free Headrail: After loosening, lift the headrail off the brackets.
- Unscrew Brackets: Use a Philips head screwdriver to take them off the wall.
- Final Touches: Lay blinds aside, preparing for new treatments.
Remember to handle each step with care to avoid damage to your wall or blinds. With these instructions, you’ll get your vertical blinds down in no time.
Strategies for Removing Cellular Blinds
Cellular blinds, often known as honeycomb blinds, are popular for their insulation properties. They can control light and provide privacy while adding insulation against heat and cold. Here are straightforward steps explaining how to take these blinds down.
- Close the Blinds: Start by fully raising the blinds to the top of the window. This compacts them and makes the following steps easier.
- Secure the Blinds: If the blinds don’t stay up, use rubber bands on either end to keep them in place.
- Release the Headrail: Firmly grasp the headrail on each side. Push forward to dislodge the blinds from their brackets.
- Roll Backward and Down: After disengaging the headrail, tilt it backwards and downwards to fully detach it from the window mounting.
- Remove Brackets: With the blinds down, use a Philips head screwdriver to remove the brackets from the window frame.
By following these steps, removing cellular blinds is a hassle-free process. Just ensure to handle every part with care to avoid damage. Now, you can proceed with your new window treatment installation or maintenance tasks.
Best Practices for Taking Down Mini Blinds
Mini blinds are a compact option for window coverings that balance privacy with light control. If you’re looking to remove mini blinds, following these best practices will ensure a smooth process.
- Adjust Slats Horizontally: Turn the slats into a horizontal position, which simplifies handling.
- Lift Blinds Up: Elevate the blinds to accumulate them at the headrail. This step makes them easier to manage.
- Open Bracket Clips: Find the brackets on each end of the headrail. Pry them open using a flat-head screwdriver.
- Remove Headrail: Once brackets are open, slide the headrail free from the mounting.
- Unscrew Brackets: Remove the remaining brackets from your window frame. Use a Philips head screwdriver for this task.
With these steps, you can efficiently take down your mini blinds without damage or hassle.
Tips for Removing Faux Wood Blinds
Faux wood blinds combine the appeal of real wood with simpler maintenance. They usually operate via a cord loop or wand. Here are tips to remove them effectively:
- Open Slats: Adjust the slats to the open, horizontal position to access the headrail.
- Push Headrail: Gently push each end of the headrail forward and down. This disengages it from the brackets.
- Remove Brackets: Use a Philips head screwdriver to unscrew the brackets from the window frame.
- Clean and Store: Once removed, clean the blinds before storing or disposing of them.
Following these steps will help you remove faux wood blinds smoothly and prepare for new window treatments.
FAQs on Blind Removal
How do you remove blinds from brackets?
To remove blinds from brackets, the process varies by bracket type. For normal brackets, push the headrail back until it disengages. If they have rotating arms, swing these arms away from the headrail to release it. Spring-loaded brackets may require pulling the tabs forward with a flat head screwdriver and pulling the headrail down.
What is the easiest way to remove blinds?
The easiest way to remove blinds involves removing the headrail from its brackets first. This simplifies unscrewing the brackets from the window frame.
How do you remove horizontal blinds?
For horizontal blind, pull the slats into the open position. Then, push each end of the headrail to disengage the brackets. Roll it backward and downward until it comes away from the brackets. Lift the headrail out last.
Is it easy to take down blinds?
Yes, taking down most blinds is easy today. They have features that simplify removal. Just ensure to follow the specific instructions for your blinds.
Is it safe to remove my own blinds?
It is safe to remove your own blind by following correct procedures. Ensure you use appropriate tools and handle the blind carefully.
Do I need any special tools?
For most blinds, a flat head and a Philips head screwdriver suffice. Some blinds need no tools at all; just unhook them from their brackets.
Can I use old brackets for new blinds?
You can usually reuse old brackets for new blind if they are the same type and size. However, it might be easier to use new brackets that come with the new blinds.
Conclusion and Preparing for New Blind Installation
With the blind now removed, you’re one step closer to refreshing your space with new window treatments. Removing blind may at first seem challenging, but with the right tools and instructions, it’s an achievable DIY task. Whether you were working with Venetian, roller, Roman, vertical, cellular, mini, or faux wood blind, the aim is to carefully dismantle them without causing damage to your walls or window frames. As you move forward with installing your new blind, remember to measure your windows accurately to ensure a perfect fit. Also, check the hardware included with your new blind; it may require different tools or installation methods compared to the old ones. If reusing brackets, ensure they are compatible and in good condition. With a clean and prepped area, you can now look forward to installing your new blind and enjoying the updated look they bring to your room.

