Introduction to DIY Blinds Replacement
How to replace blinds – Replacing your window blinds can transform the look and feel of your home. It’s a cost-effective way to update your interior without a complete overhaul. If you’re looking to switch up your style, refresh worn-out blinds, or enhance the functionality of your windows, a DIY blinds replacement might be just what you need.
Embarking on a DIY project like replacing your blinds can seem daunting. However, with a little guidance and the right tools, it’s an achievable task that can breathe new life into your rooms. This blog will guide you through the necessary steps to ensure a smooth and successful blinds replacement.
We’ll cover the essential tools you need, how to measure your windows correctly, select blinds that complement your existing decor, and remove old blinds safely. You’ll also learn how to install new blinds with precision and address some common questions that arise during the process.
With our help, you’ll be able to tackle the project with confidence. Whether you want to introduce a splash of color, achieve better light control, or simply update old, worn-out window treatments, this guide will lead the way. So, grab your toolkit, and let’s give your windows the makeover they deserve!
Necessary Tools and Materials for Blind Replacement
To replace your blinds, gather the right tools and materials first. Doing this ensures a smooth and quick process. Let’s go over what you’ll need.
- Measuring Tape: Essential for accurate window measurements.
- Screwdriver: Needed for bracket removal and installation.
- Drill: Use this to install new brackets securely.
- Level: Helps ensure your blinds hang straight.
- Pliers: Useful for adjusting or removing hardware.
- Screws and Wall Anchors: Required for mounting new brackets.
- Marker or Pencil: Mark the spots to drill or screw in brackets.
- Ladder or Step Stool: Reach the top of your window frames safely.
Before starting, make sure you have access to these tools. Accurate measuring is crucial in selecting blinds that fit well. A drill will make mounting new brackets much easier. A level is important to prevent crooked blinds, which can disrupt the room’s look.
Use pliers to grip and adjust hardware when needed. Keep screws and anchors at hand for securing the brackets in place. A marker or pencil is helpful to mark where you’ll attach new fixtures. Lastly, use a ladder or stool to get to those hard-to-reach places. Safety first, always!
Prepare your workspace by clearing the area around the window. Lay down a cloth to catch any dust or debris. Take your time gathering these items. With everything ready, we’ll move on to measuring your windows in the next section.
 Step-by-Step Measurement Guide for New Blinds – how to replace blinds
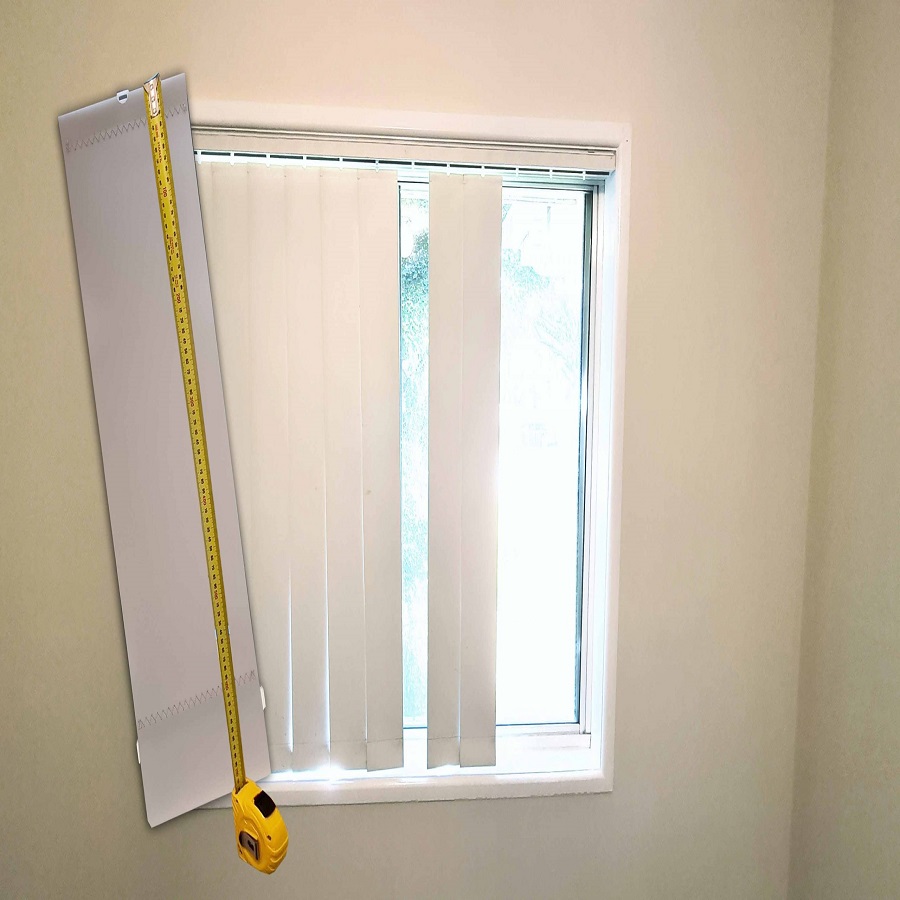
Measuring your windows precisely is key for a perfect blinds fit. Here’s how you can do it:
- Gather Tools: Make sure your measuring tape and notepad are on hand.
- Measure Width: Take three measurements across your window: top, middle, and bottom. Use the narrowest width.
- Measure Height: Measure the height from the top inside casing to the bottom sill. Do this in three spots and use the longest length.
- Account for Mounting: Note if you will have blinds inside or outside the window frame. Add extra width and height for outside mounts.
- Double Check: It’s better to measure twice to avoid any mistakes. Confirm your measurements before selecting new blinds.
- Write It Down: Jot down the smallest width and the longest height measurement.
By following these steps carefully, you ensure that your new blinds will fit just right and look great. Remember, accurate measurements lead to the best fits, especially for custom window treatments. Once you have these numbers, you’re ready to shop for new blinds that will refresh your space.
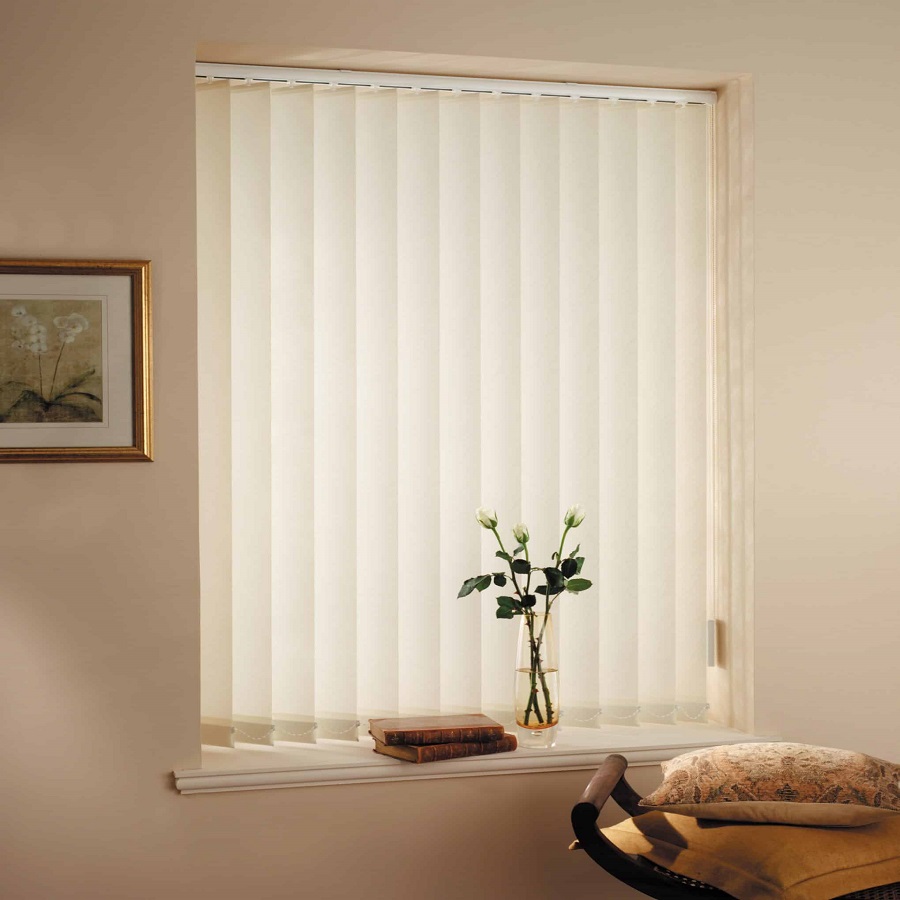
Selecting the Right Blinds for Your Decor – how to replace blinds
Selecting new blinds should align with your home’s style and needs. Consider the room’s function and ambiance. Look at the window size and placement. Here’s how to choose correctly:
- Consider Room Purpose: Different rooms need different light controls. Bedrooms may need blackout blinds for sleep. Living rooms might need lighter, privacy-preserving shades.
- Match Your Style: Your home decor dictates your choice. Modern spaces suit sleek, metal blinds. Warm, rustic interiors pair well with wood or faux wood blinds.
- Color Coordination: Pick colors that complement your walls and furniture. Neutrals blend well. Bold colors add a standout feature.
- Functionality: Think about easy use and cleaning. Cordless blinds are safer for homes with kids and pets. They are also ease to use.
- Material Matters: Durable materials like faux wood resist moisture. This makes them suited for bathrooms and kitchens where humidity is high.
- Correct Fit: Remember to measure windows for a snug fit. Custom blinds might be the best option for an exact match. See the measurement guide provided earlier.
- Energy Efficiency: Some blinds offer insulation benefits. They can cut down on heating and cooling costs. Consider this if you live in extreme climates.
Go with blinds that suit both your aesthetic taste and practical needs. With the right choice, blinds can serve as both a decor item and a functional part of your home.
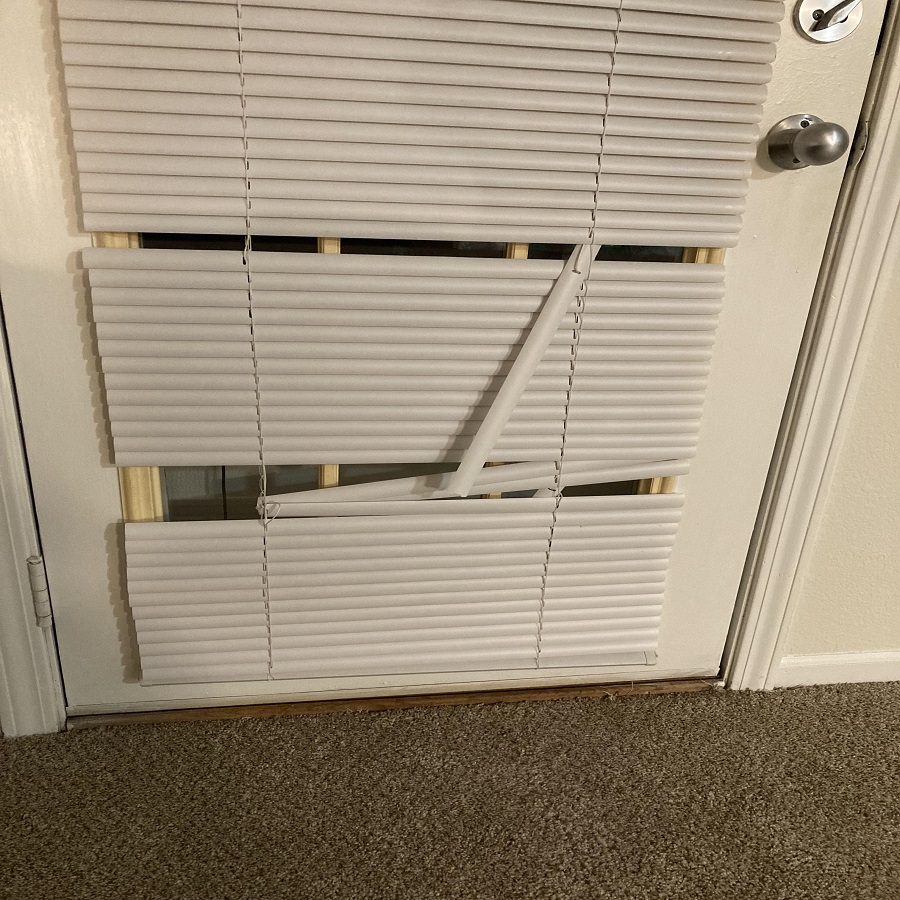
 Removing Old Blinds Safely and Efficiently – how to replace blinds
Removing your old blinds is a critical step before you can install fresh ones. This process needs care to avoid damage to your windows. Here is a quick and safe guide to remove old window treatments:
- Clear the Area: Move furniture and items away from the window. This gives you space to work and keeps things safe.
- Lift Slats: Push your blinds up. This groups them together at the top and out of the way.
- Find Brackets: Brackets hold the blinds up. They are usually at the top corners of the window.
- Unhook Blinds: Open the brackets. Slide the blinds out. Place them aside carefully.
- Remove Brackets: Use your screwdriver to take out the screws. Some may have covers you’ll need to pop off first.
- Clean Up: Wipe down the window area. Remove dust and dirt for a clean surface.
When removing old blinds, keep small pieces and sharp tools away from kids and pets. Go slow and ensure all screws and fixtures are out to prevent the blinds from snapping back. Once the old blinds are gone, you can start installing your new ones.
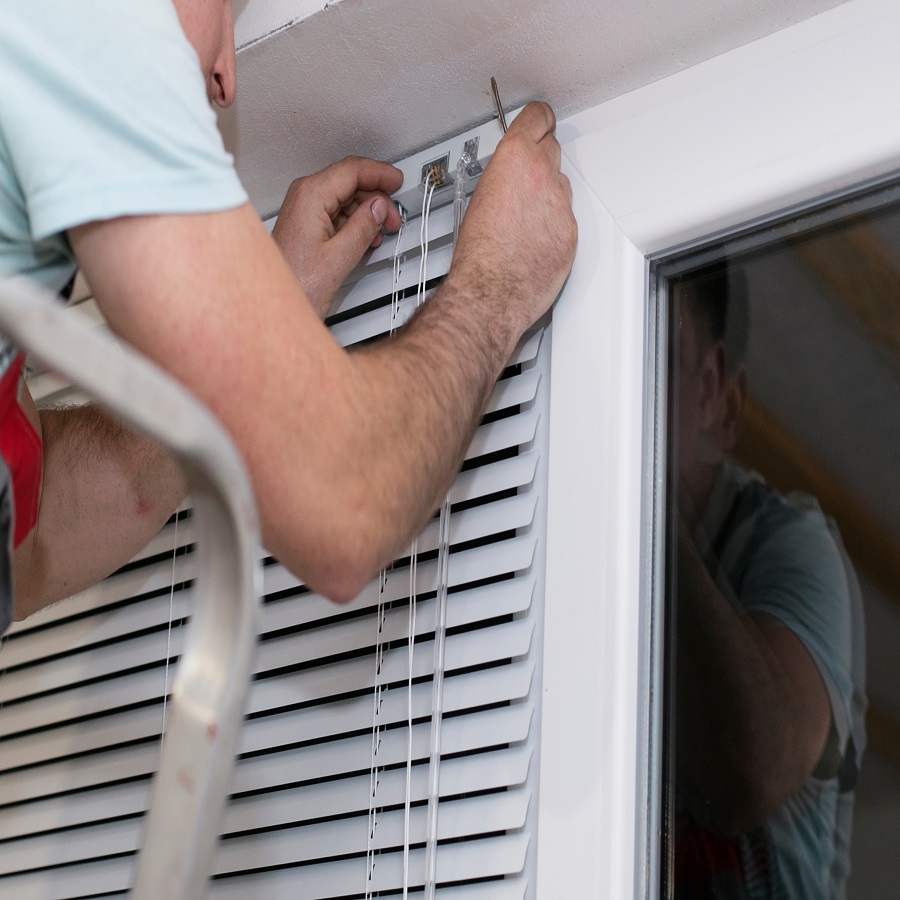
Installation Process for New Window Blinds – how to replace blinds
After removing your old window treatments, it’s time to install your new blinds. This process can be fun and satisfying, offering a fresh look for your space. Here’s a simple guide to help you install your new window blinds efficiently.
- Position the Brackets: Start by holding the brackets in place where you want your blinds mounted. Use a pencil to mark the screw holes. Ensure that they are level.
- Drill Pilot Holes: At the marks, drill pilot holes. These will guide the screws and make attachment easier.
- Secure the Brackets: Fasten the brackets with screws. Tighten them firmly so they won’t come loose over time.
- Clip in the Headrail: Once brackets are secure, clip the headrail of your blinds into place. It should snap in with a little pressure.
- Install the Valance: If your blinds come with a valance, attach it to the headrail now. This will give a finished, polished look to the window.
- Adjust and Test: Pull the blinds down and adjust them to see if they fit correctly within the frame. Make sure they operate smoothly.
- Final Touches: Stand back and look at your blinds. Check if they’re even and make any necessary adjustments.
Follow these steps for a smooth blinds installation process. Remember to reference the specific instructions that come with your blinds as they might have unique features. Enjoy your new window treatments and the new ambiance they create in your home.
 Addressing Common Blinds Replacement Questions – how to replace blinds
When embarking on a DIY blinds replacement project, you may encounter several questions. Let’s address some of the most common ones to help you proceed with confidence.
How do I know what size blinds to buy?
Measure your windows carefully. Use the narrowest width and the longest height from your measurements. Remember, inside mounts need exact sizes, while outside mounts need extra width and height. Recheck your numbers before buying.
Can I install new blinds on existing brackets?
It depends on the type and size of your new blinds. If they match, you may use the old brackets. Otherwise, install the ones that come with your new blinds for a secure fit.
What if new blinds are wider than my window?
Avoid this by double-checking your measurements before buying. If they’re already bought, trim them if possible or exchange for the correct size.
Are cordless blinds better than corded?
Cordless blinds are safer for homes with children and pets. They are simple to use and offer a clean look. Choose based on your safety needs and style preference.
How do I dispose of my old blinds?
Recycle metal and plastic parts if possible. Donate usable blinds, or check with local waste management for disposal guidelines.
What should I do if my blinds won’t fit?
Review the installation guide to ensure correct steps. If they still don’t fit, re-measure your window. You may need to replace with a proper size.
By keeping these answers in mind, you’ll navigate common pitfalls in the blinds replacement process. This will lead to a more successful and satisfying DIY project.
 Tips for Maintaining and Caring for Your New Blinds
After replacing your blinds, proper care will keep them looking great for years. Here are simple tips to maintain your new window treatments:
- Dust Regularly: Use a soft cloth or duster to wipe down blinds weekly. This prevents dust buildup.
- Spot Clean: For stains, gently clean with a damp cloth. Use mild soap if needed.
- Handle with Care: Always use the blinds’ mechanism for opening and adjusting. Avoid pulling on them.
- Avoid Moisture: Keep blinds dry. Moisture can warp or damage certain materials.
- Check Mechanisms: Every few months, test the blinds’ mechanisms. Fix any issues to prevent further damage.
- Rotate Usage: If you have multiple blinds, use them evenly. This avoids wear and tear on just one set.
By following these maintenance tips, your blinds will function well and remain an asset to your decor for a long time.